


40 kHz is the most common general-purpose ultrasonic cleaning frequency, while practical systems usually operate between 20 and 50 kHz. The best choice still depends on the balance between how stubborn the contamination is and how delicate the item can be.
You're standing beside a humming ultrasonic cleaner, watching a ring, tool, or metal component disappear beneath the solution. The machine sounds simple, but its frequency setting determines whether it behaves more like a pressure washer or a careful rinse. Choose poorly, and the cleaner may struggle with heavy grime or treat a fragile surface too harshly.
Frequency isn't a magic “stronger is better” dial. It changes the size and force of the microscopic bubbles doing the work. Once you understand that relationship, choosing a setting becomes far less mysterious.
What Is Ultrasonic Cleaning Frequency
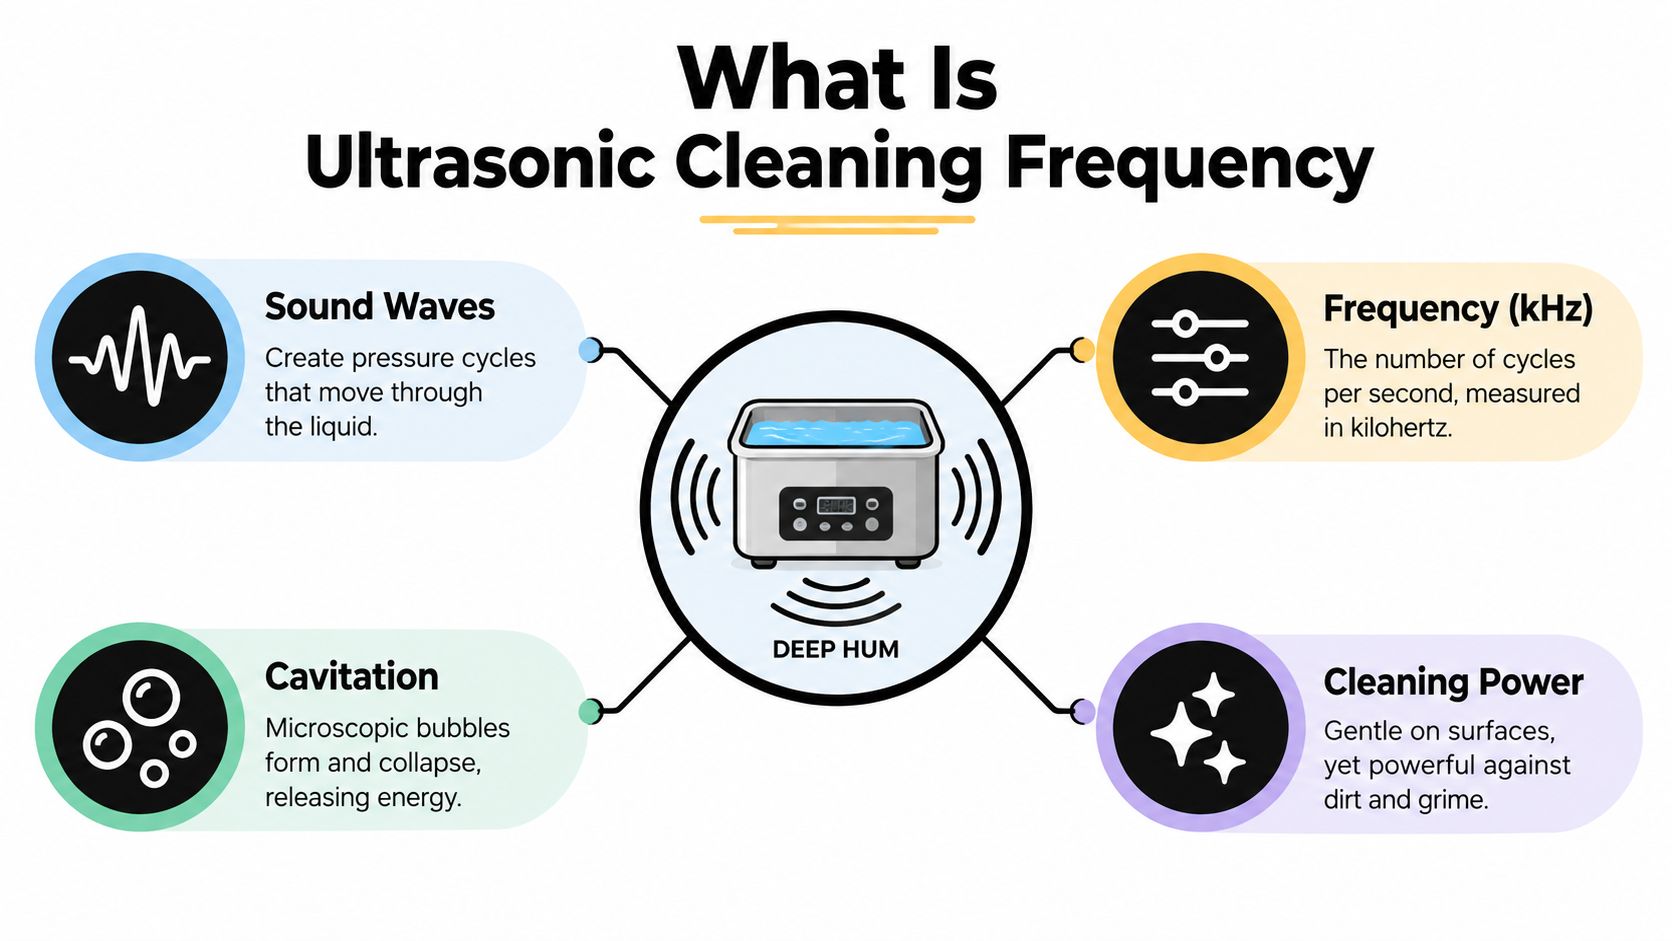
That deep hum from an ultrasonic cleaner comes from sound waves moving through the liquid. The machine converts electrical energy into rapid pressure changes, and those changes travel through the bath rather like invisible ripples spreading across a pond.
Frequency means how many of those pressure cycles occur each second. The unit is kilohertz, or kHz. A setting of 40 kHz means the system generates 40,000 cycles per second. You don't see the waves directly, but you can observe their result through cavitation, the formation and collapse of tiny bubbles in the cleaning solution. Ultrasonic Cleaning 101 explains how frequency affects bubble size and cleaning force.
Think of the setting as a cleaning style
A lower frequency creates larger cavitation bubbles. When they collapse, they release stronger localized forces, which helps loosen thick oil, carbon, and firmly attached soil. A higher frequency creates smaller bubbles that can enter finer spaces and act more gently on sensitive surfaces.
The washing-machine analogy works well here. A heavy-duty cycle uses more force to deal with muddy work clothes. A delicate cycle reduces the mechanical stress placed on fine fabric. The ultrasonic cleaner doesn't squeeze or scrub in the usual sense, but frequency gives you a similar choice between aggressive mechanical action and controlled gentleness.
Practical rule: Choose frequency by matching bubble behavior to the job, not by choosing the largest number on the control panel.
Most industrial systems sit in a practical band of 20 to 50 kHz, with 40 kHz widely used as a general-purpose baseline, as described in this technical overview of ultrasonic cleaning systems. That standard is useful, but it isn't universal. A greasy steel part and a delicate optical component may need completely different bubble behavior.
The Science Behind Cavitation and Bubbles
Cavitation begins when ultrasonic pressure waves pull and push on the liquid quickly enough to form microscopic voids. Those voids grow into bubbles, then collapse when the surrounding pressure changes. Each implosion creates a tiny, short-lived cleaning event against the surface of the object.
Think of the bubbles as balloons. At a low frequency, the liquid has more time during each pressure cycle to form larger balloons. Their collapse is more forceful, so they act like miniature impacts against contamination. At a high frequency, the system produces smaller balloons. They're less violent, but they can reach narrow recesses and delicate features with reduced risk of surface stress. Crest Ultrasonics describes this relationship between frequency, bubble size, and cavitation intensity.
Why 40 kHz became the familiar middle ground
Industrial ultrasonic cleaning developed from early work in the early 1930s, with broader adoption accelerating in the 1950s. Systems developed during that later period commonly operated between 18 and 40 kHz, and commercial equipment had largely settled into 25 to 40 kHz operation by the late 1980s, according to a university engineering document on the development of ultrasonic cleaners.
That history helps explain the popularity of 40 kHz. It offers a workable compromise. The bubbles have enough energy to remove ordinary industrial and household contamination, while the action is less severe than the lowest-frequency systems. One technical source states that 40 kHz is used in around 95% of industrial ultrasonic cleaning systems. Ultrasonic Cleaning 101 provides that industry figure and the associated frequency guidance.
The compromise has limits. Bigger bubbles may clean stubborn deposits effectively, but they can struggle with extremely fine contamination in tiny passages. Smaller bubbles may reach those spaces, but they may lack the impact needed to break through thick, bonded soil. Frequency therefore controls the character of the cleaning action, not just its volume.
For a practical look at how these bubbles work on jewelry, see this explanation of how an ultrasonic jewelry cleaner works.
How Different Frequencies Affect Cleaning Power
The table below is the fastest way to match a frequency band to a cleaning job. Frequency changes the balance between impact and access, so the familiar 40 kHz setting is a useful starting point, not an automatic answer.
| Frequency Range | Cleaning Action | Best For |
|---|---|---|
| 20 to 30 kHz | Larger bubbles and stronger implosions | Heavy grease, tenacious soil, durable parts |
| 30 to 50 kHz | Balanced force and coverage | General-purpose parts cleaning and mixed loads |
| 60 to 80 kHz | Smaller, gentler bubbles | Fine features, delicate surfaces, jewelry, electronics, and optics |
Industry practice generally places conventional ultrasonic cleaning in the 20 to 50 kHz range. Frequencies above 50 kHz are commonly chosen for precision work, including jewelry, electronics, and optics. This technical application guide explains the practical difference between conventional and higher-frequency cleaning.
Lower frequencies act like impact tools
At 20 to 30 kHz, the bath creates fewer, larger bubbles. Their collapse delivers a harder mechanical strike, much like using an impact tool instead of a soft brush. That force can disturb the bond holding grease, carbon, oxidation, and workshop residue to a durable surface.
A lower setting can therefore help with thick or tightly attached contamination. The result still depends on the part's hardness, coating, geometry, and cleaning chemistry. A thick-walled component may tolerate the added action, while a thin finish can require more control.
Higher frequencies favor access and control
At 60 to 80 kHz, smaller bubbles can enter narrow gaps and work around fine features. Their collapse is gentler, making this range suitable for delicate jewelry, electronics, optics, and intricate components when the material and cleaning solution are compatible. Crest Ultrasonics outlines the gentler behavior of higher-frequency cavitation.
Frequency does not improve cleaning in a straight line. Raising it changes the balance between reach and impact. A rugged gear with bonded oil may respond best to stronger bubble action, while a polished setting or tiny passage may clean more effectively when smaller bubbles can reach the soil without excessive force.
Selecting the Right Frequency for Your Materials
Start with two questions: What is the item made from, and what contamination must you remove? The answer to the first question tells you how much mechanical stress the surface can tolerate. The answer to the second tells you how much bubble force the soil requires.
Match fragile items with controlled action
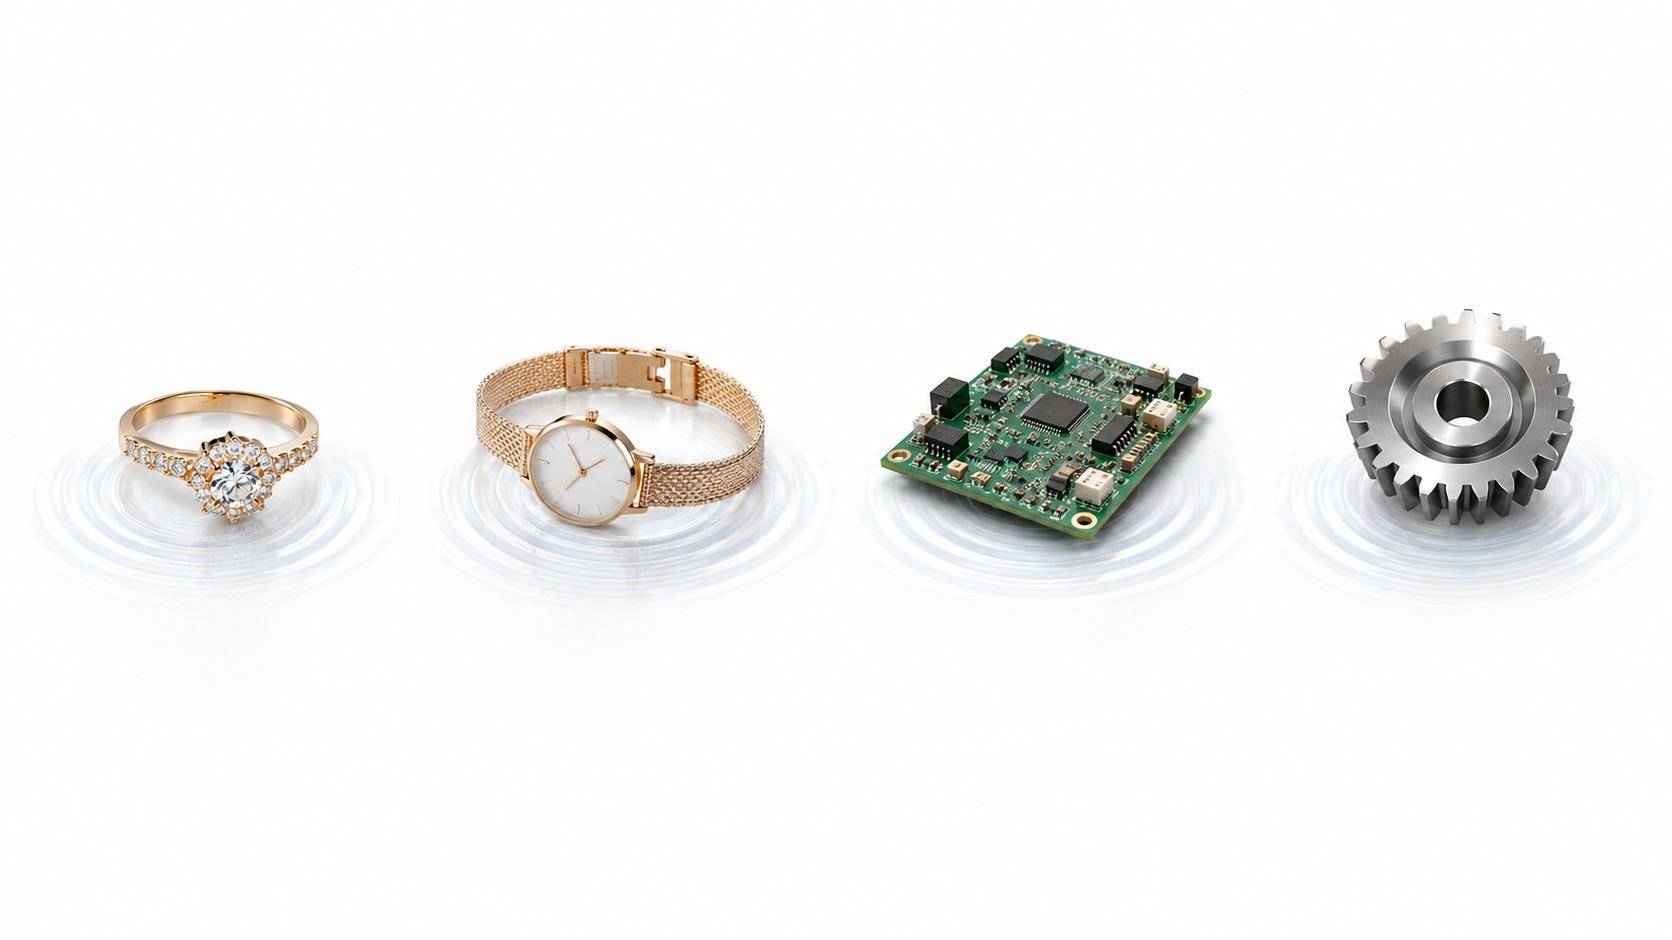
Jewelry often contains narrow gaps, delicate settings, finishes, and stones that shouldn't receive unnecessary impact. A higher frequency can provide finer cavitation with less violent bubble collapse. That may suit light oils, fingerprints, and residue on compatible jewelry, but you should still check the care requirements for each stone, setting, coating, and assembly.
Watches need particular caution. The ultrasonic bath may be appropriate for a removable metal bracelet, but the complete watch can contain seals, lubricants, or components that aren't suitable for immersion. Electronics and circuit boards also require confirmation that the specific assembly, coating, and cleaning chemistry are compatible.
Give durable parts enough force
Machined steel, durable tools, and automotive components often carry heavy oil, grease, carbon, or shop soil. A lower frequency around 20 to 30 kHz produces larger, more aggressive bubbles for this type of contamination, as documented in this cavitation reference from Crest Ultrasonics.
A general-purpose 40 kHz system can be a sensible starting point for mixed household and workshop tasks. It isn't a guarantee of success, because chemistry, loading, geometry, and rinsing also affect the result. If the item is delicate, begin with the least aggressive practical setting and inspect it rather than assuming the strongest action is necessary.
Treat plastics as a material category, not a single rule
Plastics vary widely in hardness, thickness, finish, and chemical resistance. A rigid, compatible plastic component may tolerate ultrasonic cleaning, while a soft or thin part can respond differently. Use the manufacturer's guidance where available, test an inconspicuous area, and avoid assuming that a frequency suitable for steel will suit every polymer.
Material check: Frequency selection can reduce cleaning risk, but it can't make an incompatible item safe for immersion.
Common Myths About Ultrasonic Frequency
The most persistent myth is that higher frequency is always better. Higher settings can be better for fine particles, narrow features, and delicate surfaces, but they also create less intense cavitation. A high-frequency bath may struggle when thick grease or bonded deposits need a stronger mechanical push.
The opposite myth causes similar problems: lower frequency isn't automatically the professional choice. Its larger bubbles can deliver more aggressive action, but that force may be inappropriate for sensitive surfaces, fine finishes, or fragile assemblies. The right setting depends on the relationship between soil size, soil adhesion, part geometry, and surface sensitivity.
The 40 kHz assumption
Because 40 kHz is so common, users often treat it as the midpoint that must work for everything. It is a useful general-purpose baseline, not a universal answer. The practical range includes lower settings for heavy contamination and higher settings for precision work, as this frequency guide from Tovatech explains.
The most revealing example is membrane or fouling removal. Technical guidance notes that 28 kHz can sometimes outperform 40 kHz for specific membrane-removal tasks. That result doesn't contradict the bubble-size principle. It shows that cleaning performance depends on how the bubble action interacts with a particular soil and surface, not on a simple ranking where one frequency always wins.
Why results aren't linear
A small frequency change can alter bubble size, distribution, access, and impact. Those changes interact with the shape of the part and the physical character of the contamination. As the Tovatech reference notes, cleaning performance isn't necessarily linear with frequency, and higher ranges such as 80 to 170 kHz may suit very fine or delicate cleaning in the right application.
Choose the frequency that solves the actual cleaning problem. Don't pay for gentler action when the part needs impact, and don't apply impact when the surface needs restraint.
Optimizing Your Ultrasonic Cleaning Process
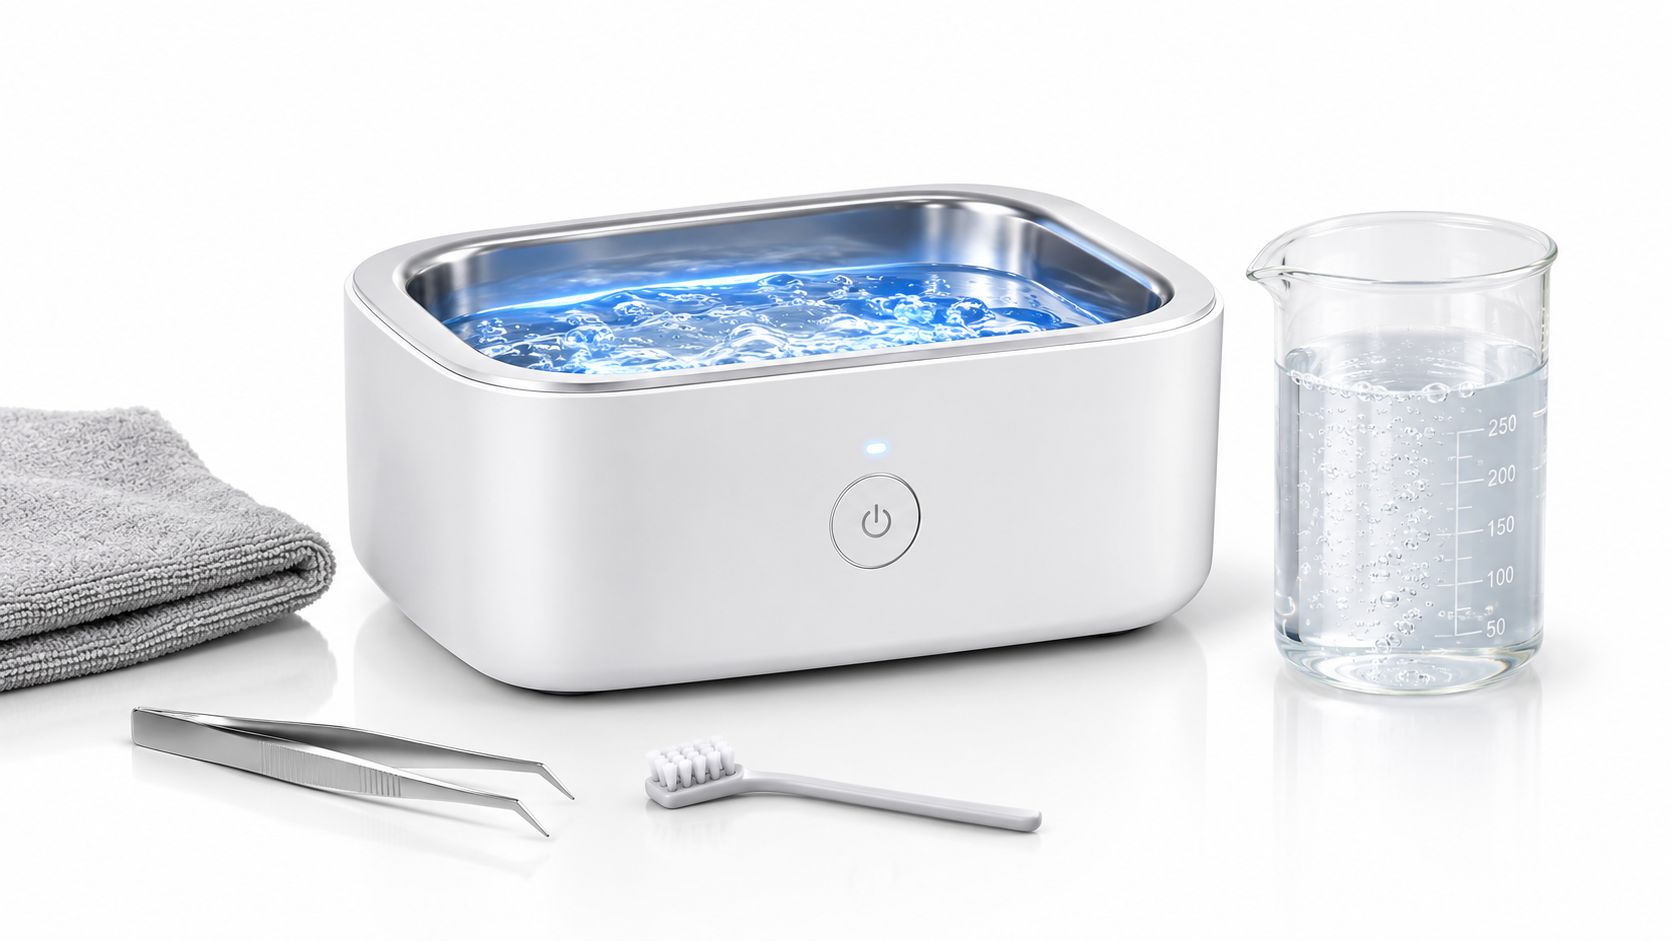
Frequency works as part of a system. A well-chosen setting can still produce poor results if the solution doesn't suit the contamination, the parts block one another, or the bath contains too much foam. Your aim is to let the chemistry loosen the soil while cavitation supplies the mechanical action.
Evo Dyne Products offers fragrance-free ultrasonic jewelry cleaning solutions among its jewelry-care products. Use a solution only when its label and the item's care guidance indicate compatibility, and don't treat a product's presence in an ultrasonic cleaner as proof that every material is safe.
Build a repeatable setup
- Identify the soil first. Heavy grease and carbon need a different approach from fingerprints or fine dust.
- Confirm material compatibility. Check the item, coating, stones, seals, and solution before immersion.
- Select the least aggressive useful frequency. Use lower frequencies for stubborn contamination on sturdy parts, and higher frequencies for delicate surfaces or fine features.
- Use the correct solution concentration. Follow the product instructions rather than guessing. Too little chemistry may leave soil behind, while excess detergent can create foam that interferes with ultrasonic transmission.
- Load the tank carefully. Keep parts separated where possible so the solution can reach exposed surfaces and recesses.
- Rinse and inspect. Residue can remain even when an item looks clean. Rinse with a compatible liquid, dry thoroughly, and check crevices under suitable lighting.
Temperature can change how oils flow and how readily contamination releases, but heat isn't a substitute for correct frequency or chemistry. Follow the equipment and solution guidance, particularly when cleaning plastics, adhesives, coatings, or delicate assemblies.
This video provides a visual reference for the operating process:
Run a small test before committing an important item to a new combination of frequency, solution, temperature, and cycle. Record what worked. That simple habit turns ultrasonic cleaning from guesswork into a repeatable maintenance process.
Conclusion and Key Takeaways
Ultrasonic cleaning frequency controls the behavior of the bubbles that do the actual scrubbing. Lower frequencies create larger, more forceful cavitation for stubborn contamination on sturdy parts. Higher frequencies create smaller, gentler bubbles for delicate surfaces, fine features, and precision cleaning.
40 kHz remains a reliable general-purpose starting point, but it isn't a rule that overrides the material and the soil. A greasy metal component may need the impact associated with a lower frequency. A fine jewelry setting, optical surface, or intricate component may benefit from higher-frequency action. Some tasks, including particular membrane-removal applications, can favor a frequency that doesn't look like the obvious midpoint.
Use this decision sequence:
- Identify the contamination. Ask whether it is heavy and bonded or fine and lightly attached.
- Assess the surface. Determine how much mechanical force the item can tolerate.
- Choose the bubble behavior. Lower for impact, higher for control, and 40 kHz for a practical general-purpose baseline.
- Balance the process. Pair frequency with compatible chemistry, sensible loading, rinsing, and inspection.
The best cleaner is the one that matches the job, not the one with the most impressive specification. Once you understand that, the hum from the tank stops sounding mysterious and starts sounding like a measurable tool.
Evo Dyne Products offers fragrance-free ultrasonic jewelry cleaning solutions and other care products for household and professional maintenance needs. Visit Evo Dyne Products to choose a compatible solution and make your ultrasonic cleaning routine more controlled and consistent.
