

A lot of cars don't get “old” all at once. They just lose sharpness in small ways. The paint stops reflecting cleanly. Dust settles into vents and cupholders. The seats look tired even after a quick wipe-down. Then there's the smell. Not always bad, just lived-in. Coffee, gym bag, damp floor mats, fast food, sunscreen, pet hair. The cabin no longer feels fresh when you open the door.
That's usually the moment people start looking up DIY Car Detailing: Tips to Make Your Vehicle Look and Smell Brand New. They want more than a basic wash. They want the car to feel reset.
That impulse makes sense. DIY detailing has grown well beyond a niche hobby. Online sales of DIY kits surged by 40% during the pandemic, showing a major shift toward at-home vehicle care, according to car detailing industry statistics compiled by WiFi Talents. More owners started realizing that with the right tools and the right process, a driveway detail can look a lot closer to pro work than commonly expected.
The key word is process.
Good detailing isn't just spraying product on dirty surfaces and hoping shine appears. It's workflow. Safe washing first, because a bad wash creates paint damage. Decontamination next, because bonded grime won't come off with soap alone. Polish if correction is needed. Protection after that. Inside the cabin, the order matters just as much. Dry soil out first. Clean from top to bottom. Treat each material correctly. Handle odor at the source instead of covering it with a stronger fragrance.
A car looks new again when every surface agrees with every other surface. Clean paint, clear glass, matte-clean plastics, conditioned leather, fresh air.
That's what separates a satisfying detail from a frustrating afternoon.
You don't need a shop bay or years of experience to get there. You need patience, a few dependable tools, and a willingness to work like a detailer instead of rushing like someone at a self-serve wash. Done right, the result isn't just a cleaner vehicle. It's that moment when you step back, catch the paint in the light, open the door, and think, yes, that feels right again.
Introduction Reclaim That Showroom Feeling at Home
Most owners know the exact stage their car is in right now. It's not trashed. It's not pristine. It sits in the middle zone where the vehicle still runs well and may even look decent from ten feet away, but up close the finish tells a different story. Road film dulls the lower doors. The steering wheel has that slight tacky feel. The interior smells less like a new car and more like accumulated errands.
That middle zone is where detailing matters most.
A proper DIY detail brings back three things at once. Visual sharpness, because clean paint, trim, and glass reflect light the way they should. Tactile freshness, because seats, plastics, and controls stop feeling grimy. Air quality and scent, because a clean cabin should smell neutral or pleasantly finished, not perfumed over lingering dirt.
Why the professional workflow matters
Beginners often make one mistake that creates a dozen more. They jump around. They wash part of the exterior, then wipe the dash, then hit the windows, then scrub a stain, then dress the tires. The result usually looks uneven because the work had no sequence behind it.
A seasoned detailer works in order for a reason:
- Wash before correction so dirt doesn't get dragged over paint.
- Decontaminate before polish so bonded grit doesn't interfere with pads or applicators.
- Clean the interior dry first so loose debris isn't turned into mud by liquid cleaners.
- Leave scent until the end so you're freshening a clean cabin, not masking a dirty one.
What “brand new” actually means
Brand new doesn't mean making an older car look factory-delivered. That isn't realistic. It means restoring the things owners notice immediately:
- Paint that looks cleaner than it did yesterday
- Glass that disappears instead of showing haze
- Cabin surfaces that feel dry, not greasy
- An interior scent that feels clean and intentional
That's all achievable at home if you stop treating detailing like one job. It's several small jobs done in the right order.
The best DIY detail doesn't try to imitate a quick wash package. It imitates professional discipline.
That's the mindset that makes the rest of the work easier.
Your Essential DIY Detailing Tools and Product Arsenal
Before any product touches the car, get your kit organized. Most detailing mistakes don't come from bad intentions. They come from using the wrong towel, one bucket instead of two, or a harsh cleaner on the wrong material.
A good starter setup doesn't need to be huge. It needs to be purpose-built.

Exterior wash tools
Start with the gear that keeps dirt away from paint instead of grinding it into the surface.
- Two buckets with grit guards. One holds shampoo solution, the other rinse water. Grit guards matter because they help keep removed debris at the bottom.
- pH-neutral car shampoo. Household soaps clean aggressively, but they aren't meant for automotive finishes.
- Microfiber or chenille wash mitt. A mitt lifts dirt better than a sponge, which tends to push contamination across the panel.
- Pressure washer or strong hose nozzle. Useful for pre-rinsing, wheel wells, and lower body panels.
- Dedicated wheel brushes. Brake dust is filthy. Don't use wheel tools on paint.
Drying and paint-prep supplies
Beginners often cut corners here, and it shows on the finish.
| Tool | What it does | What to avoid |
|---|---|---|
| Drying towel | Pulls water off safely with minimal rubbing | Bath towels, old T-shirts |
| Clay bar or clay mitt | Removes bonded contamination after washing | Using it on a dirty panel |
| Applicator pads | Apply wax, sealant, trim dressing | Reusing one pad for every product |
| Polish and wax or sealant | Correct and protect | Confusing one for the other |
Interior cleaning kit
Interior work goes faster when each surface has its own tool.
- Vacuum with crevice attachment for seat rails, seams, pedals, and console edges
- Soft detailing brushes for vents, buttons, stitching, and textured plastics
- All-purpose cleaner for hard interior surfaces, diluted properly
- Glass towels reserved only for windows
- Leather cleaner and conditioner if the vehicle has leather seating
- Separate towels by task so greasy trim residue doesn't end up on glass
Keep your towels sorted
One of the easiest upgrades is also one of the least glamorous. Sort your microfiber towels by job.
- Paint towels stay soft and never touch wheels
- Interior towels handle plastics, vinyl, and door panels
- Glass towels do glass only
- Dirty work towels are for jambs, exhaust tips, and grime-heavy areas
That one habit prevents a lot of accidental scratching and streaking.
Practical rule: If a towel has touched wheels, engine grime, or the ground, it's no longer a paint towel.
A smaller, cleaner toolkit beats a giant pile of random products every time.
The Foundation of a Flawless Finish Exterior Washing
A clean finish starts before the wash mitt ever hits the paint. Most swirls aren't created during polishing. They're created during routine washing by dragging dirt across the surface. If you care about gloss, your wash technique matters as much as your products.
The safest approach is slow, deliberate, and slightly boring. That's a good thing.
Start with the dirtiest areas first
Wheels, tires, and lower body panels usually carry the heaviest contamination. Clean them before the paint so you're not splashing brake dust and grime onto already-washed panels.
Use separate tools for these areas. Keep a wheel bucket, wheel brushes, and wheel towels apart from paint-safe gear. Cross-contamination is one of the fastest ways to ruin a careful wash.
If the vehicle is heavily soiled, pre-rinse the whole exterior first. Knock off loose grit before touching anything by hand.

Why the two-bucket method isn't optional
The two-bucket method is still the gold standard because it cuts down the main cause of wash-induced marring. It can reduce swirl-induced defects by 70 to 80 percent compared to single-bucket washing, and grit guards help trap contaminants so they aren't reintroduced to the paint, according to Chemical Guys' DIY car detailing guide.
That matters because paint damage during washing is cumulative. One rushed wash might not seem dramatic, but repeated bad technique clouds the finish over time.
The professional wash pattern
Use this sequence and stick to it:
- Pre-rinse the vehicle to remove loose dirt.
- Fill one bucket with shampoo solution and one with plain rinse water.
- Load the mitt with soap, then wash a small section using straight-line motions.
- Rinse the mitt in the plain water bucket before going back to the soap bucket.
- Work from the top down because roofs, glass, and upper panels are usually cleaner than rocker panels and bumpers.
- Leave the nastiest lower sections for last.
Straight-line passes are safer than circles. Circular motions tend to make any marring look more obvious once light hits the paint.
If your mitt hits the ground, stop using it on paint. Rinse it thoroughly or swap it out. A single grain of grit can do more damage than most people expect.
Drying without undoing your work
Drying is part of the wash, not an afterthought. A rushed wipe-down can put fine scratches right back into the finish.
Use a quality drying towel and blot or glide gently over the surface. Don't scrub at leftover water. If water keeps beading in crevices, open doors, trunk, and fuel flap areas and dry the hidden edges too. Those drips always show up later and leave spots.
A good wash doesn't just make the vehicle cleaner. It creates a safe base for everything that follows. If the wash is careless, every later step is built on compromised paint.
Decontaminating Your Paint for a Smooth Surface
A freshly washed car can still feel rough. Run clean fingertips lightly over the paint and you may notice tiny bumps. That roughness is bonded contamination. It can include industrial fallout, tar, stubborn grime, and embedded residue that regular washing leaves behind.
Decontamination earns its keep at this stage.
Chemical decontamination first
Before using clay, deal with contamination that chemistry can loosen more safely than friction can.
Common examples include tar removers and iron removers. The exact product depends on what the vehicle is carrying. If the lower panels have specks from road tar, a tar remover makes sense. If the paint and wheels carry embedded fallout, an iron remover is the better fit.
The rule is simple. Let chemistry remove what chemistry can, because every unnecessary touch on paint adds risk.
Mechanical decontamination with clay
After chemical decon, clay removes what remains bonded to the surface. This can be a traditional clay bar, a clay mitt, or a clay towel. For beginners, a clay bar is often slower but easier to control.
Use plenty of lubricant. That can be a dedicated clay lubricant or a compatible slick detail spray. Never clay a dry panel.
A safe clay process looks like this:
- Wash and dry the vehicle first
- Work on a cool surface out of direct sun
- Flatten the clay into a small disc
- Lubricate one small section generously
- Glide the clay lightly across the paint
- Stop once the surface feels smooth
- Wipe the residue and inspect
Don't press down. Clay works by grabbing contamination at the surface. Pressure only increases the chance of marring.
Use the baggie test
One easy way to feel the difference is the baggie test. Put your hand inside a thin plastic bag and lightly glide it over the paint. The plastic amplifies surface texture. Do this before and after claying and the improvement is obvious.
That test also keeps expectations realistic. If the paint still looks swirled after decontamination, that isn't a failure. Clay removes bonded contamination. It doesn't correct scratches or oxidation. That's a polishing job.
Decontamination should leave paint smooth, not necessarily perfect. Smooth is what gives polish and protection a clean surface to work on.
One warning every beginner should remember. If you drop a clay bar on the ground, throw it out. It picks up grit instantly, and reusing it on paint is asking for scratches.
Bringing Back the Shine with Polish and Wax
Clean paint and shiny paint aren't the same thing. A car can be freshly washed and still look flat because the surface has light swirls, haze, oxidation, or faint water-spot etching. That's where polishing comes in. Protection comes after.
Those two steps get mixed up all the time, so keep the roles clear.

Polish corrects and wax protects
Polish contains abrasives that refine the clear coat. It improves gloss by reducing defects.
Wax or sealant sits on top of the paint and adds protection, slickness, and visual richness.
If you skip polish, the car can still look good after wax. But wax doesn't hide much for long. It protects what's underneath. If the finish is swirled, protection just seals in a swirled finish.
Here's the practical comparison:
| Step | Main job | Best used when |
|---|---|---|
| Polish | Improve clarity and reduce visible defects | Paint looks dull, hazy, or lightly swirled |
| Wax or sealant | Add protection and gloss | Paint is already clean and ready to preserve |
Hand application versus machine polishing
For most beginners, hand application is enough for wax, sealant, and mild paint cleaners. It's inexpensive and safe. The trade-off is correction power. Hand polishing can improve small areas, but it usually won't match machine results on larger panels.
A dual-action polisher is the enthusiast's upgrade because it gives more even correction with less fatigue than working by hand. It's far more approachable than many people assume, especially compared with rotary machines. Still, it isn't mandatory for a satisfying DIY detail.
Choose based on your goal:
- If you want cleaner, glossier paint with minimal risk, work by hand.
- If you want stronger correction across the whole vehicle, a DA polisher is worth learning.
- If the paint has deep defects, don't chase them aggressively without understanding clear coat limits.
A simple way to apply each product
For hand polishing, use a foam or microfiber applicator and work a small section at a time. Keep pressure moderate and your pattern consistent. Remove residue with a clean microfiber towel before it cakes up.
For wax or sealant, thinner is better. Thick coats waste product and make removal harder. Spread a uniform film, allow it to haze if the product instructions call for it, then buff off gently.
This visual walkthrough helps if you want to see paintwork rhythm and applicator control in action.
What works and what usually disappoints
Some approaches consistently pay off. Others just consume time.
- Works well: Spot-polishing problem areas like trunk tops, door cups, and hood sections that catch the light.
- Works well: Using a finishing wax or sealant after proper prep.
- Usually disappoints: Applying more protection in hopes of fixing uncorrected paint.
- Usually disappoints: Using one aggressive product everywhere without testing a small area first.
The goal isn't maximum cut. It's balanced improvement. Gloss comes from leveling the surface enough to reflect light cleanly, then protecting that finish so your next wash doesn't undo it.
Mastering the Interior Deep Clean from Top to Bottom
A good interior detail feels orderly because the work itself follows an order. Start high, work downward, and remove dry debris before introducing liquid cleaners. That one rule prevents a lot of rework.
If you spray cleaner on a dusty dash before vacuuming, you've made mud. If you scrub seats before cleaning the headliner edge, crumbs and dust fall right back onto the fabric. Professional results depend on sequence more than intensity.

Begin with dry cleanup
Remove trash, personal items, floor mats, and anything tucked into door pockets or seatback compartments. Then vacuum thoroughly before opening a single bottle.
Focus on places people miss:
- Seat rails and seat edges
- Console seams and shifter surrounds
- Under pedals
- Door pocket bottoms
- Along stitching and piping
- The base of the rear seat
A brush attachment helps loosen dust from vents and textured plastics while the vacuum pulls it away.
Clean hard surfaces the pro way
For dashboards, consoles, doors, and other hard interior materials, dilution and wipe technique matter more than brute force. A professional approach uses an All-Purpose Cleaner at a 10:1 dilution for light soil. After agitation with a soft brush, wipe with a damp microfiber, then a dry one, to keep residual moisture under control and avoid sticky residue, as described by Details Matter's DIY auto detailing tips.
That's the detail a lot of quick cleanups miss. If the surface feels shiny in a greasy way after cleaning, too much product was left behind.
Clean interior plastics should feel dry and natural, not slick.
Use your brush around buttons, seams, cupholders, and vent slats. Spray the towel or brush when needed instead of soaking electronics directly.
Upholstery and leather need different treatment
Fabric seats and carpets usually respond well to targeted spot cleaning and gentle agitation. Don't over-wet them. Over-saturation creates long dry times and can leave a sour smell if moisture lingers.
Leather needs a different mindset. Clean it gently, then follow with a leather conditioner if the material calls for it. The goal is suppleness, not shine. Glossy leather often means residue, not health.
A simple material guide helps:
| Surface | Best approach | What to avoid |
|---|---|---|
| Plastic and vinyl | APC, soft brush, damp towel, dry towel | Heavy overspray |
| Fabric seats | Light cleaner, gentle agitation, controlled moisture | Soaking the cushion |
| Leather | Leather-safe cleaner, then conditioner | Harsh multipurpose chemicals |
| Screens and piano black trim | Soft clean towel, minimal product | Scrubbing with dirty microfiber |
Finish with interior glass
Interior glass often looks clean until sunlight hits it. Then you see fingerprints, haze, and that odd film that builds up on the windshield.
Use a dedicated glass towel and keep it separate from interior towels that have touched dressings or APC. Wipe methodically and inspect from more than one angle. The top edge of the windshield and side windows usually need a second pass.
If the cabin is clean but the inside glass is smeared, the whole vehicle still feels unfinished. Interior detailing rewards precision. The cabin is where owners spend their time, so small misses stand out fast.
Restoring the New Car Scent and Air Quality
A clean-smelling car doesn't come from stronger fragrance. It comes from removing what caused the odor in the first place. That's the difference between a cabin that smells fresh for a day and one that still feels clean a week later.
Most bad interior smells come from a short list of culprits. Damp mats, old spills, food residue, clogged vents, dirty fabric, and a neglected cabin air filter. If those sources stay in place, hanging a freshener just layers scent on top of the problem.
Eliminate first and scent second
Treat odor the way a detailer does:
- Remove trash and moisture sources
- Deep-clean carpets, mats, and upholstery where spills soak in
- Clean cupholders, seat creases, and door pockets
- Replace the cabin air filter if airflow smells stale
- Use an enzyme-based odor eliminator for organic messes
That last point matters. Masking products have their place, but they shouldn't be your first move. If milk, coffee, pet accidents, or food drips are involved, neutralizing the source works better than trying to cover it.
Use HVAC airflow to your advantage
Once the cabin is clean, scent can become a finishing step instead of a disguise. A vent-directed product works well because the HVAC system helps distribute it throughout the cabin rather than concentrating it in one spot.
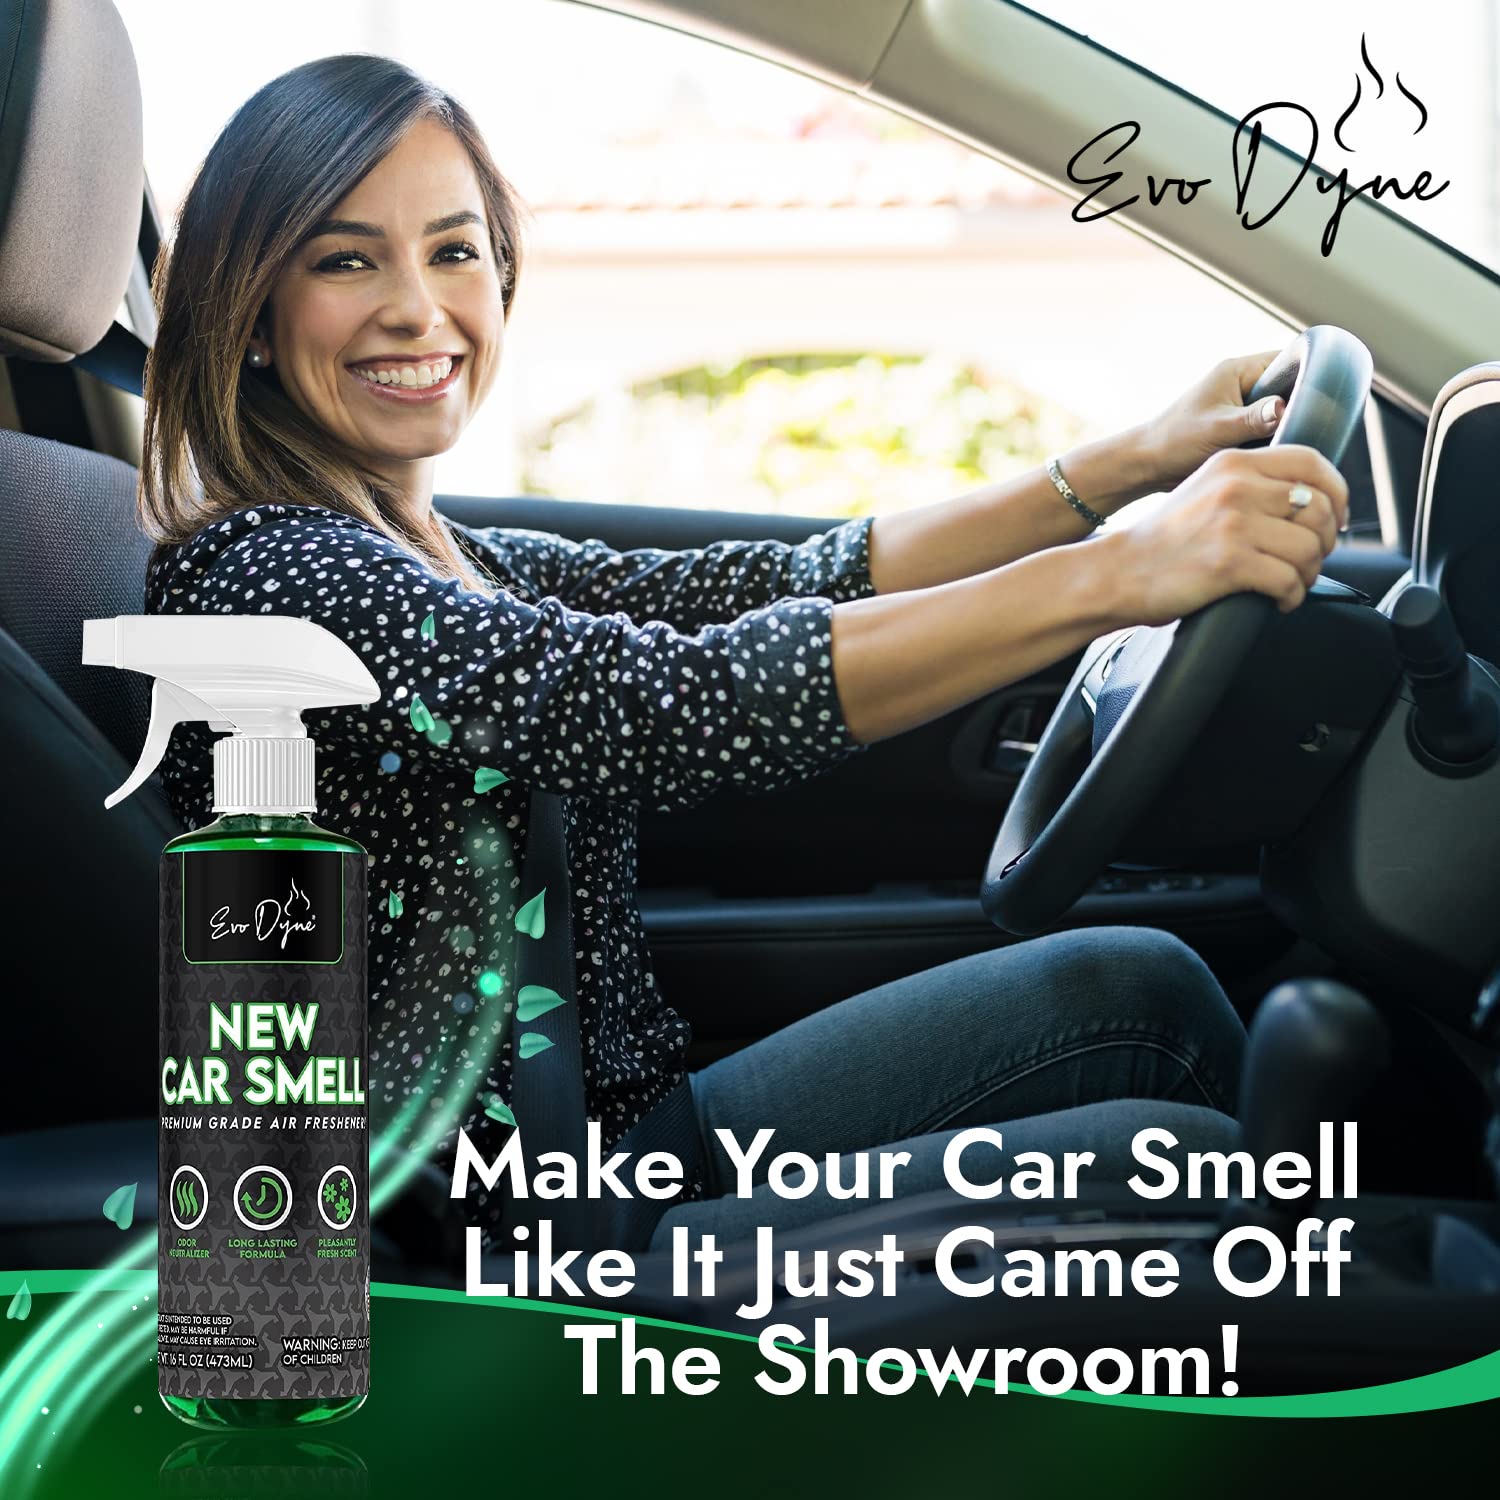
For owners who want that familiar finished-car feel, one option is using Evo Dyne Products Leather Scent or New Car Smell spray through the vents as part of the final step. If you want more guidance on that approach, this guide to getting new car smell back explains the logic behind restoring a clean interior scent instead of just overpowering odors.
A vehicle smells “new” when the air is clean first. Fragrance only works when it has a clean space to live in.
Use a light hand. The best interior scent is noticeable when you enter the car, not overwhelming while you drive. Subtle always feels more expensive than too much.
Perfecting the Finishing Touches on Tires Windows and Trim
The final details are where a car starts looking fully detailed instead of washed. Paint may be clean and the interior may smell fresh, but if the tires are blotchy, the glass is streaked, or the trim looks faded, the job still feels incomplete.
These are small areas with outsized visual impact.
Tires should look dressed, not drenched
A good tire finish complements the vehicle. It shouldn't look wet enough to sling product down the side of the car on the first drive.
Apply tire dressing to a foam applicator, not directly to the tire. Spread it evenly, work it into the sidewall, and let it settle before moving the car. If excess remains, wipe it down. That extra pass is what reduces sling.
The cleanest look for most cars is a satin finish. It looks deliberate and maintained without attracting attention for the wrong reason.
Windows need a method, not more spray
Most glass problems come from contaminated towels or too much product. The fix is simple. Use a dedicated glass cleaner and a two-towel approach. One towel cleans. The second towel buffs dry.
A few habits improve results quickly:
- Work in shade if possible
- Use straight passes instead of random circles
- Roll windows slightly down to clean the top edge
- Flip towels often before they load up
If you keep getting smears, the towel is usually the problem. Glass demands its own microfiber.
Trim can make an older car look younger
Exterior plastic trim fades before paint gives up. A proper trim restorer or dressing brings visual depth back to mirrors, cowls, and textured moldings.
Apply carefully with a small applicator and keep it off surrounding paint where possible. If the trim is heavily oxidized, one pass may not be enough. Thin, controlled applications usually look better than one heavy coat.
Here's the simple checklist detailers use at the end:
| Area | Finished look | Common mistake |
|---|---|---|
| Tires | Even satin black | Overapplying dressing |
| Glass | Clear with no haze | Using interior-contaminated towels |
| Trim | Dark, even tone | Smearing product onto paint |
These finishing touches don't take the longest, but they often create the strongest first impression.
Common DIY Detailing Mistakes and How to Avoid Them
Most DIY detailing problems are self-inflicted. The good news is they're also preventable. You don't need more effort. You need cleaner habits.
Mistake one using the wrong products
Dish soap, harsh degreasers, and random household cleaners create more problems than they solve. They may strip, stain, dry out, or leave residue on automotive materials.
Use products meant for the surface in front of you. Car shampoo for paint. Interior-safe cleaner for plastics. Leather-safe care for leather. Glass cleaner for glass.
Mistake two working in bad conditions
Direct sunlight and hot panels shorten working time and make products harder to wipe off cleanly. Water spots, streaks, and stubborn residue usually follow.
The fix is simple. Work on a cool surface, out of harsh sun if you can, and break the job into sections instead of trying to race the weather.
Mistake three dragging dirt across paint
This includes single-bucket washing, using one towel for everything, or reusing dropped tools. It's one of the fastest ways to put scratches into a finish that was in decent shape to begin with.
Keep tools separated by task. Swap out dirty towels early. If clay or a paint towel hits the ground, retire it from paint duty.
Bad detailing usually looks fast. Good detailing looks calm.
Mistake four overusing product
More cleaner doesn't mean more cleaning. More dressing doesn't mean better tires. More wax doesn't mean more protection. Excess product usually means extra residue, streaking, and longer cleanup.
Use the minimum amount needed to get even coverage. Thin applications are easier to control and easier to remove.
Mistake five chasing perfection instead of consistency
A lot of beginners burn out because they think every detail needs to be a full correction. It doesn't. A safe wash, clean interior, clear glass, fresh cabin, and tidy trim already create a dramatic improvement.
The better goal is repeatability:
- Wash safely every time
- Address interior mess before it builds
- Protect paint after prep
- Handle odor at the source
- Finish the details others skip
That's how a car stays sharp. Not through one heroic weekend, but through disciplined maintenance that doesn't create new damage.
If you're ready to finish your detail with the right odor-control products and car care solutions, browse Evo Dyne Products for automotive options that fit a clean, methodical DIY workflow.
