

You're getting ready to go out, catch the light on your engagement ring, and realize the diamond looks flat and cloudy. It isn't damaged. It's coated. Lotion, skin oil, and dust have built up under the setting where a quick wipe can't reach. Knowing how to make jewelry cleaning solution at home fixes that in minutes, but only if the formula matches the metal and stone in your hand.
Table of Contents
- Why the Right Jewelry Cleaning Solution Matters
- The Foundational DIY Recipe for Most Jewelry
- Metal and Stone-Specific Recipe Variations
- A Compatibility Chart for DIY Additives
- Making DIY Solutions Work with Ultrasonic Cleaners
- Storage, Labeling, and Safety Precautions
- When a Commercial Solution Is the Better Choice
Why the Right Jewelry Cleaning Solution Matters
A cloudy ring tempts people to grab whatever's under the sink. That's how an opal turns dull, a pearl loses its surface, or a gold setting comes out looking worse than it went in. The grime itself is ordinary, a mix of skin oils, cosmetic residue, soap scum, and dust that settles into prongs, chains, and pavilion facets and stops light from bouncing back.
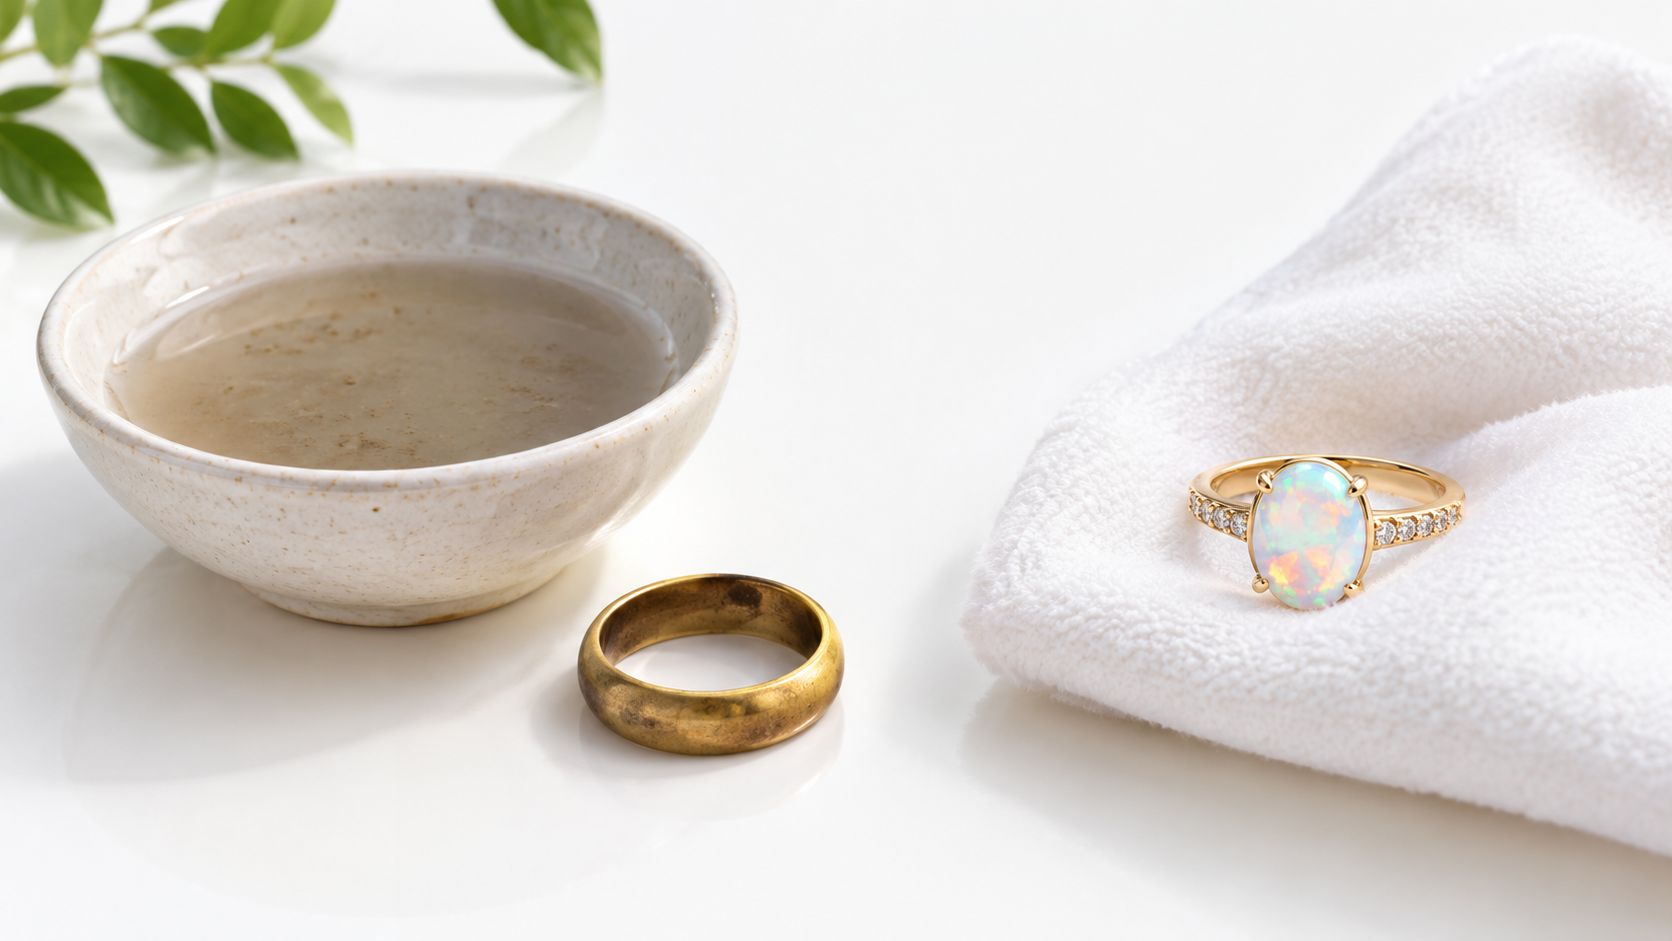
The working principle behind every recipe here is simple. Mild chemistry beats maximum strength. The Gemological Institute of America guidance on caring for jewelry recommends warm water, mild dish soap rather than detergent, and a soft brush for most colored gemstones. The same guidance warns that ammonia based household cleaners can be too harsh for delicate gems and vintage jewelry, and that chlorine bleach can pit or damage gold alloys.
Identify Before You Mix
Check two things before water touches the piece. First, what's the metal, solid gold, platinum, sterling silver, stainless steel, or a plated base you can't soak for long? Owners of everyday steel pieces will find how to care for stainless steel jewelry useful context, since steel tolerates moisture differently from plated fashion pieces.
Second, what's the stone or surface? Diamonds, sapphires, and rubies handle a soak. Pearls, opal, turquoise, coral, amber, lapis lazuli, malachite, moonstone, fluorite, kunzite, ivory, and fracture filled or treated stones don't belong in a bath or an ultrasonic tank. If you can't name the stone or you suspect a coating or filler, default to the gentlest option or don't immerse it at all.
If you don't know what a stone is, treat it as porous until a jeweler tells you otherwise.
That single check decides whether you restore brilliance or create damage you can't polish away.
The Foundational DIY Recipe for Most Jewelry
For solid gold, platinum, diamonds, and most hard gemstones, you don't need a specialty product to remove everyday film. You need warm water, a small amount of mild soap, time, and a brush soft enough not to bend prongs or scratch polish.
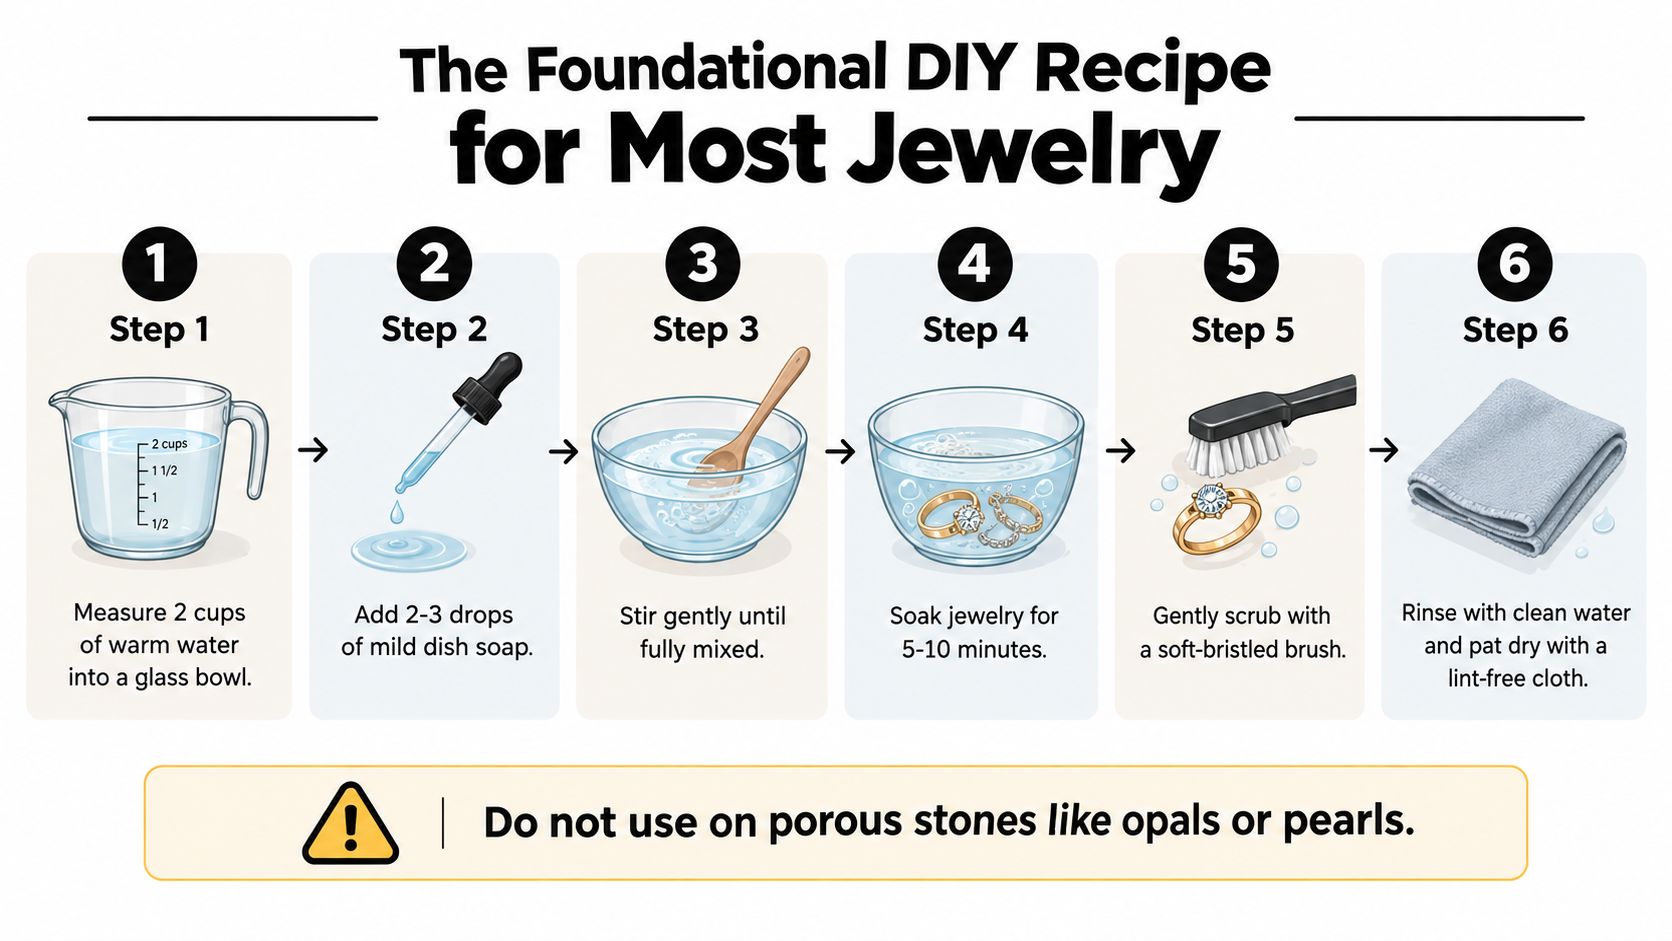
The Basic Mix and Method
- Measure the water: Pour 2 cups of warm water into a glass bowl. Warm means comfortable to your hand, not hot and never boiling.
- Add the soap: Stir in roughly 1 teaspoon of mild, non-detergent dish soap. Look for a plain formula without heavy fragrance, dyes, moisturizers, or antibacterial additives.
- Soak briefly: Lower one or two pieces in and leave them for a short soak so the solution can loosen oils under the setting.
- Brush gently: Work a soft bristled brush, such as a baby toothbrush, around prongs, under galleries, and along chain links. Let the bristles do the work.
- Rinse safely: Move the piece to a separate glass of clean water to rinse.
- Dry completely: Pat with a lint free cloth and let the piece air dry before you store it.
Soap choice matters more than expected. Fragrance and dye additives can leave a film that mimics the dullness you're trying to remove, and detergent formulas are stronger than this job requires. A plain, mild soap lifts grease because it surrounds oil so water can carry it away. That's enough for routine soil.
Soaking alone won't clear packed residue from under a center stone. The brush reaches the underside where lotion hardens, and that's usually where lost sparkle hides. Don't skip the separate rinse glass. Rinsing over an open sink is how a loosened stone, or the whole ring, disappears down the drain.
Don't use this bath on porous stones like opals or pearls. For them, immersion is the problem, not the soap strength.
Metal and Stone-Specific Recipe Variations
The foundational bath is a starting point, not a universal prescription. Small changes in contact time and technique keep each material within what it can tolerate.
Solid Metals
Sterling silver with light tarnish responds to a brief paste rather than a long soak. Mix baking soda with a little water into a soft paste, apply it with a cloth using light pressure, rinse thoroughly, and dry at once. It's mildly abrasive, so keep it off stones and don't scrub polished areas aggressively.
Solid gold usually needs only the foundational soak, given a little longer, plus careful brushing around settings. Dry it well so water spots don't dull the finish. Platinum follows the same mild approach. It's durable, but its surface shows scratches and residue, so gentle brushing and a clean rinse matter more than stronger chemistry.
Costume and plated jewelry gets the shortest contact time of all. Don't soak it. Dip a soft cloth in the mild solution, wipe the surface, follow with a cloth dampened in plain water, and dry immediately. Prolonged moisture can lift plating, loosen glued stones, and reach base metal at worn edges.
Stones That Should Not Soak
Pearl, opal, turquoise, coral, amber, and lapis lazuli need a no soak approach. Use a barely damp soft cloth, wipe gently, and dry with a second cloth. Anyone wearing pearls as part of an outfit, not just as a strand, may appreciate pearl belt chain styling tips alongside this care rule, because styling hardware and clothing contact add friction you should check after wear.
Apply the same caution to treated, coated, or fracture filled stones. Fillers and coatings can react to heat, chemicals, and vibration even when the underlying stone is hard. If a seller disclosed a treatment, or you don't know, clean only the metal you can reach with a damp cloth and take the piece to a jeweler for anything deeper.
Practical rule: Shorter, milder, and drier is always the safer direction when you're unsure about a material.
A Compatibility Chart for DIY Additives
Most additive advice online ignores what the additive does to a specific surface. Ammonia cuts oil, vinegar dissolves some mineral deposits, and baking soda abrades tarnish. None of that makes any of them safe everywhere.
DIY Additive Compatibility with Common Jewelry Materials
| Material | Mild Dish Soap | Baking Soda Paste | Diluted Ammonia | White Vinegar |
|---|---|---|---|---|
| Solid gold, no delicate stones | Suitable | Use with caution | Use with caution | Avoid |
| Platinum | Suitable | Use with caution | Use with caution | Avoid |
| Sterling silver, plain | Suitable | Suitable | Avoid | Use with caution |
| Diamond in secure setting | Suitable | Avoid on setting | Use with caution | Avoid |
| Pearl, opal, turquoise | Damp cloth only | Avoid | Avoid | Avoid |
| Plated or costume | Damp cloth only | Avoid | Avoid | Avoid |
| Rhodium plated finish | Suitable | Avoid | Avoid | Avoid |
Ammonia deserves the most restraint. It can cut stubborn oil on plain, sturdy diamond jewelry, but it's a poor choice for vintage pieces, unknown solder joints, delicate gems, and anything you can't identify. Stronger degreasing doesn't help if the chemical attacks the piece holding the stone.
White vinegar is acidic. That acidity can dull pearls, damage porous stones, and affect etched or soft surfaces. Keep it, at most, for plain silver without stones, and rinse thoroughly if you use it. Don't treat it as a general soak.
Baking soda paste works on silver tarnish because it's a mild abrasive, and that same property makes it risky on high polish, soft stones, and rhodium plated finishes. You're removing tarnish by rubbing the surface, so pressure and frequency count.
Mild dish soap stays in the suitable column most often because it targets the common soil, oil, without relying on acid, strong alkali, or abrasion. When a recipe promises dramatic results from a kitchen chemical, check the row for your exact material before you believe it.
Making DIY Solutions Work with Ultrasonic Cleaners
An ultrasonic tank changes the formulation because cavitation does the heavy lifting. Tiny collapsing bubbles dislodge soil from places a brush can't reach, so the liquid should support that action instead of producing foam that interferes with it.
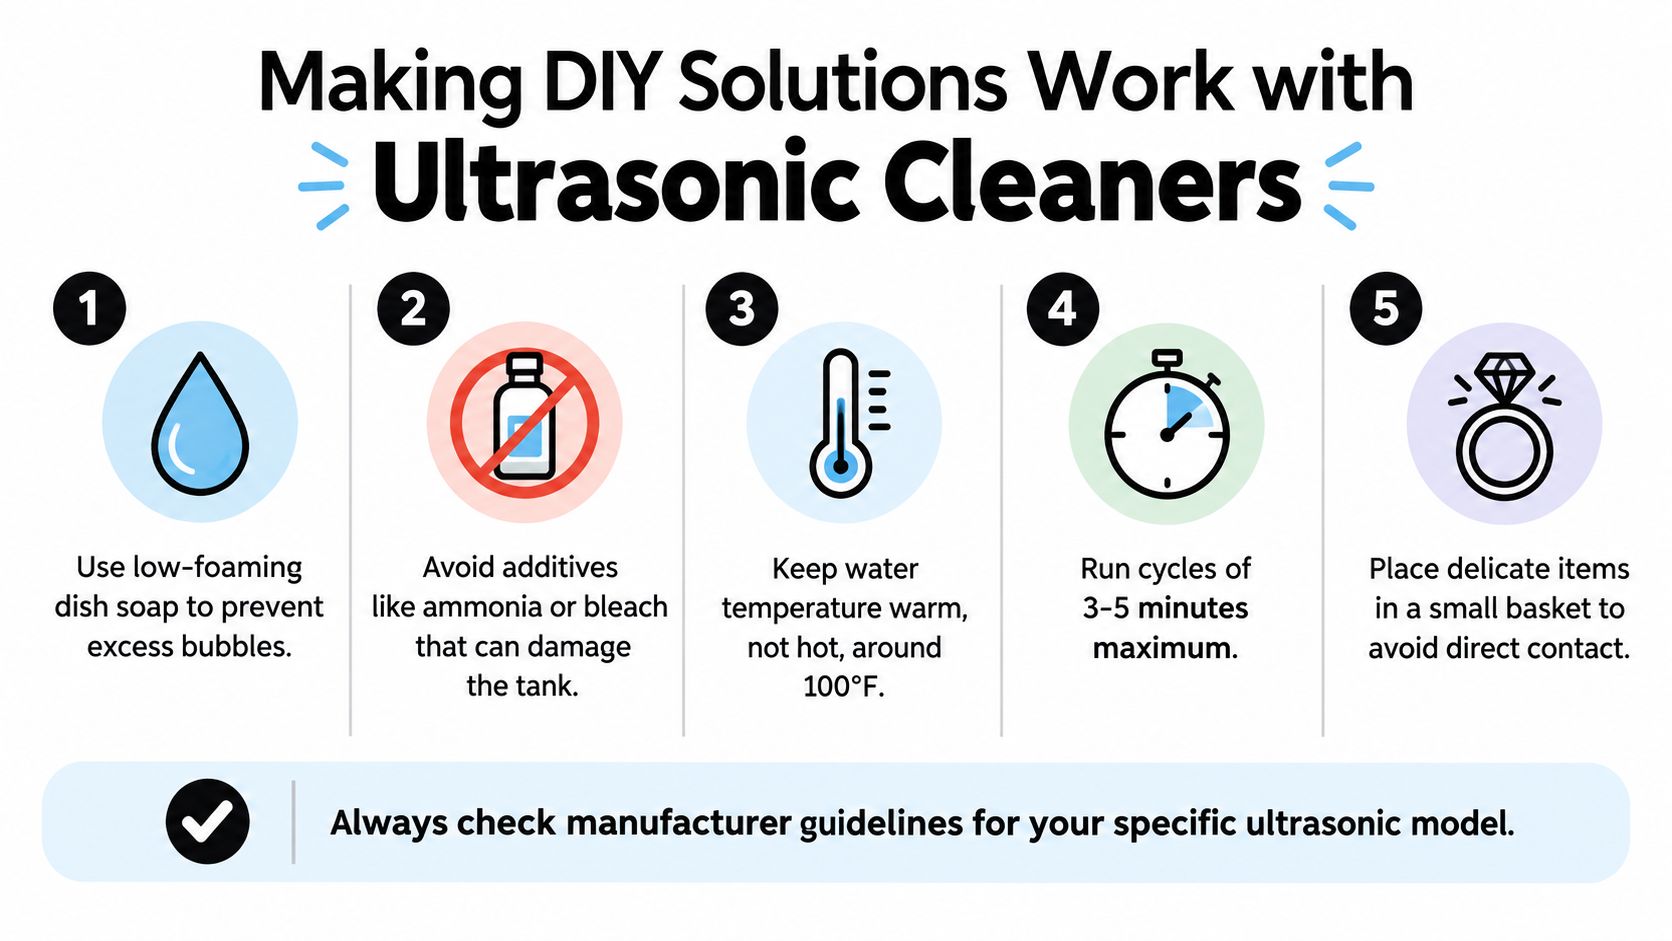
Use a low foaming cleaner at the dilution your equipment manufacturer approves. A high sudsing dish soap bath that works in a bowl can underperform in a tank and leave residue. If you're deciding which pieces belong in the machine at all, review whether ultrasonic cleaning suits all jewelry before you mix anything.
A Safe Operating Sequence
- Inspect first: Check settings for loose stones before immersion, because vibration can finish what wear started.
- Fill and degas: Fill with the approved diluted solution and degas the bath so cavitation works evenly.
- Use the basket: Place pieces in the basket without stacking, so they can't knock against each other.
- Run short: Use the shortest effective cycle, then inspect instead of automatically repeating.
- Rinse and dry: Rinse in clean water and dry promptly with a lint free cloth.
Temperature needs control. Expert ultrasonic guidance places many baths around 27 to 43 °C unless equipment instructions specify otherwise, and temperatures above 60 °C can bake protein soils onto surfaces, as summarized in the GIA guidance on diamond care and cleaning. Hotter isn't cleaner here.
No additive fixes incompatibility. Vibration can loosen stones, chip diamond girdles that touch, or worsen fractures and unstable treatments. Never put pearls, coral, ivory, amber, fracture filled stones, coated gems, or porous and heat sensitive gems in the tank. The right question isn't how to make jewelry cleaning solution strong enough for an opal in an ultrasonic cleaner. It's why the opal shouldn't be there.
Storage, Labeling, and Safety Precautions
DIY solution is safest when you mix only what you'll use and discard what's left. If you keep a small batch, treat it like any household chemical, with a proper container, a clear label, and storage out of reach.
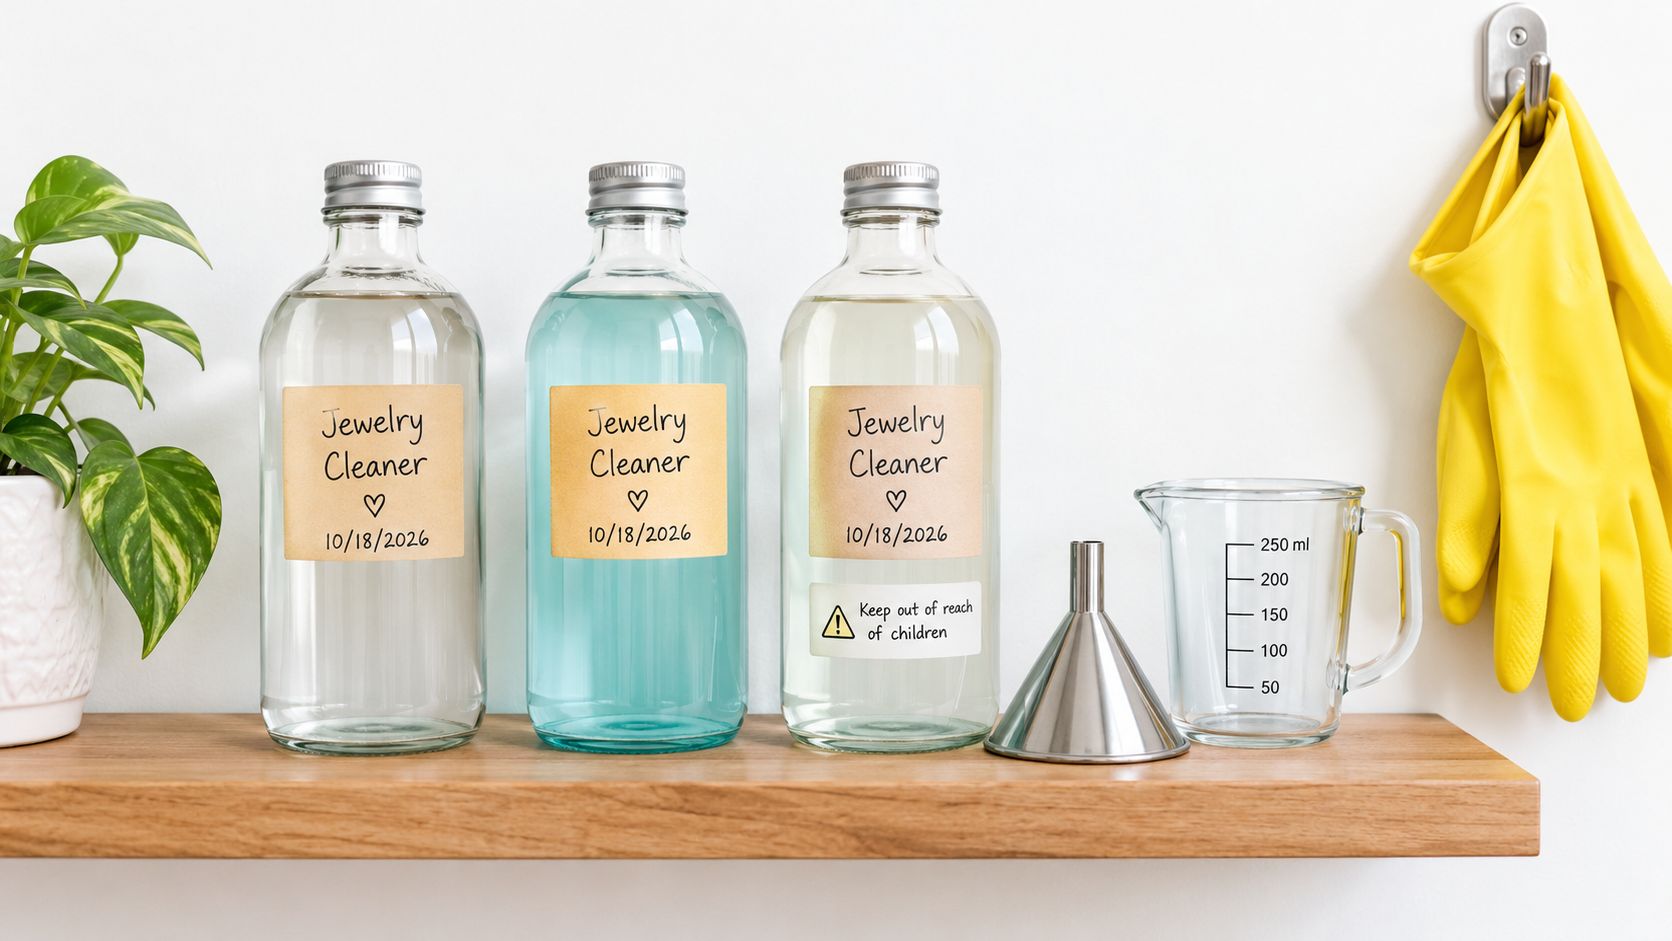
Choose amber glass or opaque HDPE bottles with tight caps. They limit light exposure and reduce the chance that someone mistakes the contents for water or a drink. Don't reuse beverage bottles. Don't store cleaner in a jam jar on the counter and rely on memory.
What Every Label Should State
- Recipe: Ingredients and proportions, written in full.
- Mix date: The day you made it, so old solution gets discarded.
- Intended materials: For example, gold and diamond only.
- Restrictions: A plain note such as not for pearls, opals, or plated pieces.
Soap based mixes are best made fresh, and ammonia containing mixes shouldn't sit around for later use. If a stored solution changes smell, color, or clarity, throw it out and mix a new batch. Old solution also carries the soil from previous pieces back onto the next one.
This short demonstration shows the handling basics in practice.
Wear nitrile gloves if your skin is sensitive or you're using ammonia, and work with ventilation whenever ammonia is open. Store bottles high, capped, and away from children and pets. Never combine leftover solutions to strengthen them, and never add bleach to any jewelry mix.
Never mix or keep a jewelry solution in an unlabeled jar.
When a Commercial Solution Is the Better Choice
DIY works well for routine film on sturdy, well understood pieces. It isn't the right tool for every job, and forcing it creates the damage people blame on cleaning itself.
Deeply set and pavé pieces trap soil where a toothbrush can't reach without risking prongs. Estate jewelry can carry decades of compacted residue and tarnish in recesses that a mild soap bath only softens. Vintage construction, unknown treatments, loose stones, and glued components also move a piece out of DIY territory and toward a jeweler's bench.
What to Look For in a Commercial Formula
Choose a product that states its material compatibility plainly instead of claiming universal safety. For ultrasonic use, look for a low foaming formula and dilution directions written for a tank, not a sink. Fragrance free formulas reduce residue concerns, and a chelating agent can help bind mineral deposits so they rinse away instead of redepositing. Consistent manufacturing in certified facilities also removes the batch to batch guessing that comes with kitchen measuring.
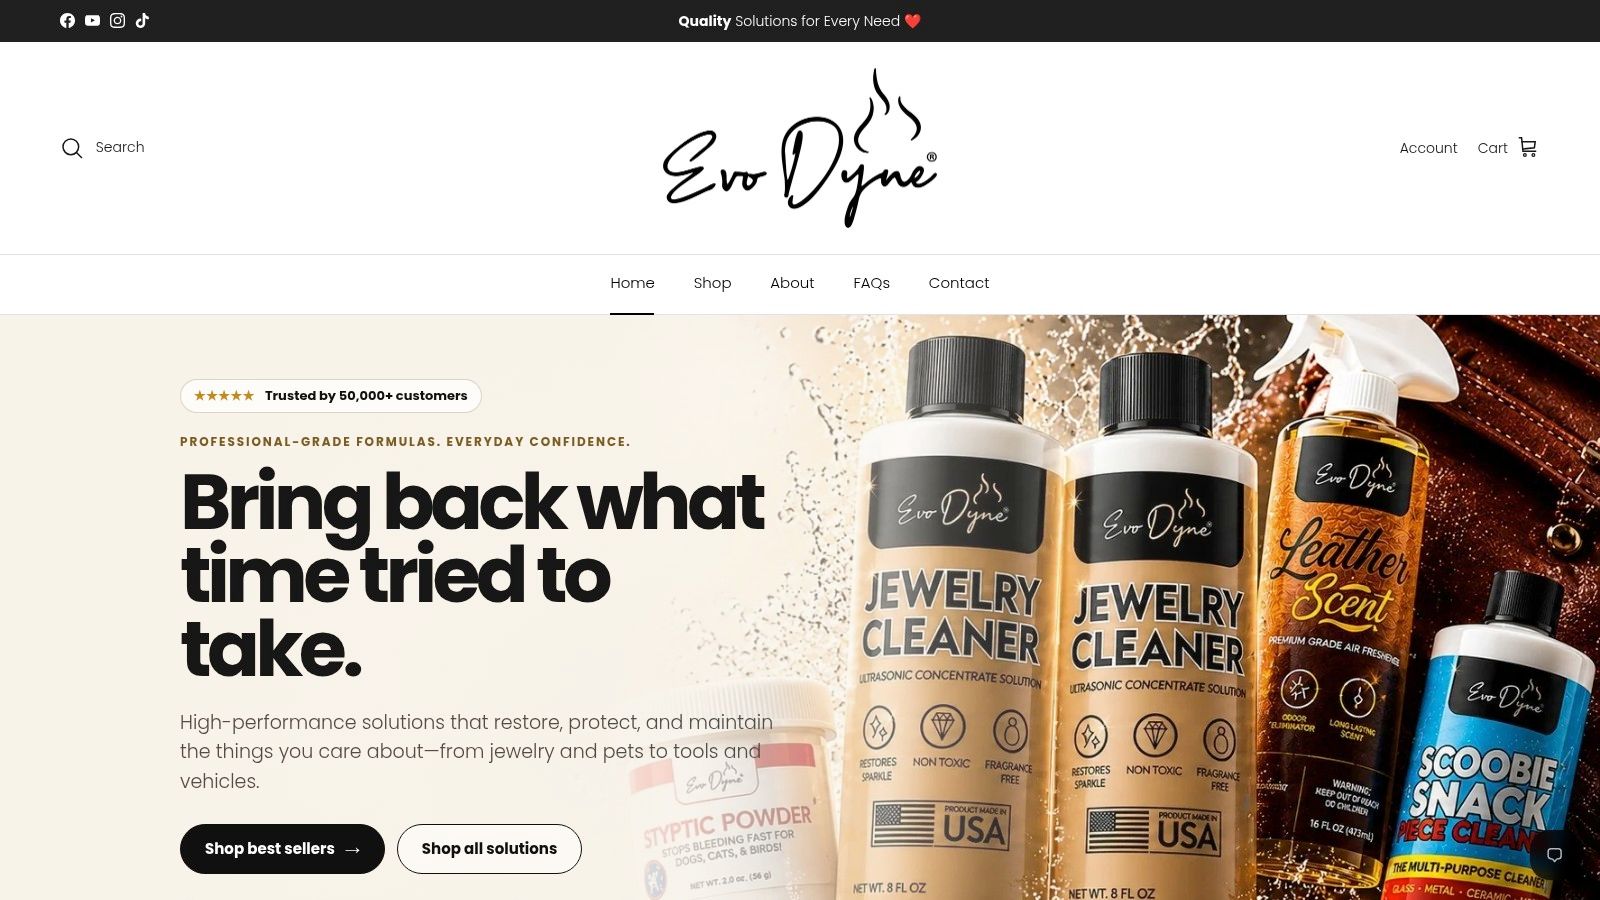
That category includes Evo Dyne Products ultrasonic jewelry cleaner solution, a concentrated, fragrance free formula made to be diluted for ultrasonic use. Readers comparing gentler ready made options can review a guide to gentle jewelry cleaner choices and match the stated compatibility against their own pieces. Customer testimonials and a returns policy add recourse that a homemade batch can't offer, though neither replaces checking a setting before cleaning.
Use DIY for maintenance you understand. Use a commercial solution when you need controlled dilution, low foam performance, and labeled limits. Use a jeweler when the risk is structural, not cosmetic.
If your sturdy gold, diamond, or platinum pieces need more than a soap bath can reach, Evo Dyne Products offers concentrated ultrasonic jewelry cleaner solutions formulated for low foaming, fragrance free cleaning at a controlled dilution. Visit the shop, check the material compatibility guidance against each piece you own, and choose the formula that fits your cleaner and your jewelry.
