
You've taken out the kitchen trash, cracked a window, and wiped away the obvious spill, but something still smells sour. A DIY odor eliminator spray sounds like the quickest next move. It can help with a limited surface-cleaning job, but the useful recipe starts with knowing what you're treating, not choosing a stronger scent.
Table of Contents
- Why That Room Still Smells After You Spray
- A Safer Order for DIY Odor Control
- How to Mix a DIY Odor Eliminator Spray
- How to Store and Patch-Test Homemade Sprays
- When the Smell Comes Back Anyway
- When a Store-Bought Odor Spray Is the Better Move
Why That Room Still Smells After You Spray
The kitchen might smell better while you're wiping the counter, then unpleasant again when you open the cabinet beneath the sink. Before reaching for another bottle, check the bin, the cloth you used, and any damp or dirty surfaces nearby. Treat those as places to investigate, not as proof that the whole room needs spraying.
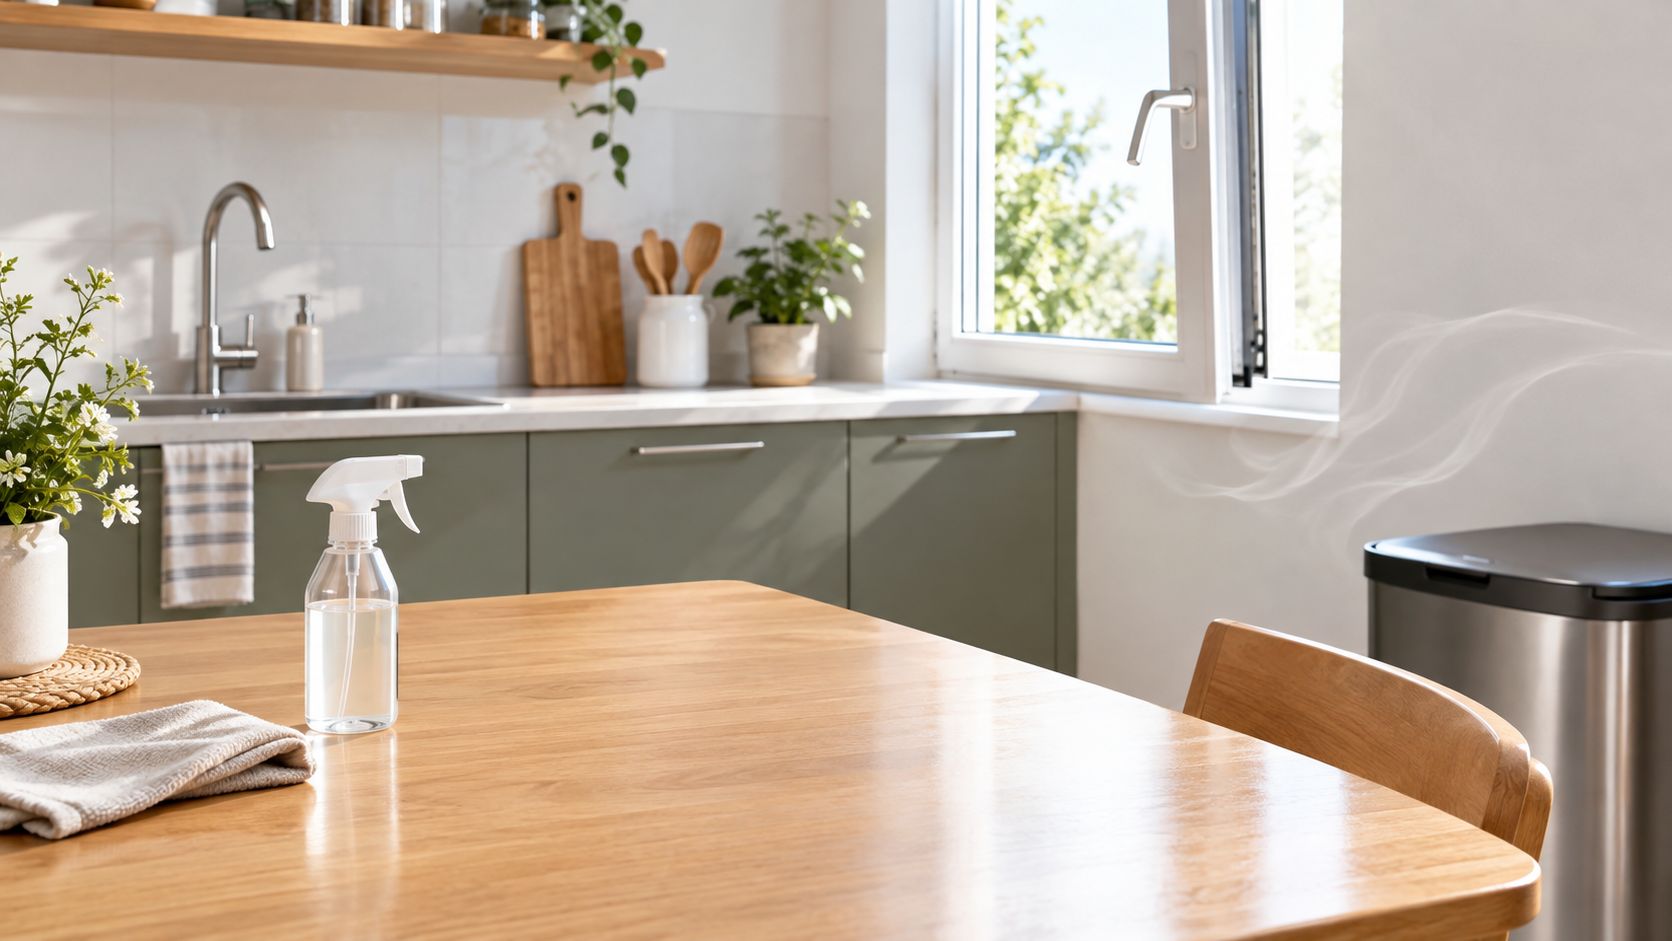
A homemade mist isn't an air purifier. It may help remove residue when used for an appropriate cleaning task, change how strongly you notice an odor, or cover it with fragrance. Those are different results, even when your nose initially reads them as the same improvement.
Keep the bottle's purpose modest: a small surface job, not a room-filling treatment.
What You Add to the Air Matters
The Environmental Protection Agency defines volatile organic compounds, or VOCs, as gases emitted by certain solids and liquids. Its guidance on VOCs and indoor air quality identifies cleaning supplies and air fresheners as household sources and reports that concentrations of many common organic pollutants averaged 2 to 5 times higher indoors than outdoors in its Total Exposure Assessment Methodology studies.
That finding doesn't mean every homemade bottle creates the same exposure. It does mean a closed room isn't a good place to keep adding fragrance just because the original odor hasn't disappeared.
The same EPA guidance lists possible effects ranging from eye, nose, and throat irritation to headaches and nausea. Some VOCs can also cause serious organ damage, and some are carcinogenic. The practical response is to limit unnecessary airborne chemicals, not assume that a pleasant smell proves the air is clean.
Practical rule: Favor low-volatility ingredients, a light application, and fresh air over a stronger perfume.
Match the Cleanup to the Material
A counter and a wooden floor shouldn't automatically get the same treatment. If a pet accident involves wood, Maid in America's guidance can help you protect wood finishes during cleanup before you experiment with a homemade mixture.
For an odor that seems to involve more than a single surface, use a broader household odor troubleshooting guide to organize your inspection. Decide whether you're dealing with dirty material, retained moisture, or leftover airborne odor.
Your target isn't a kitchen that smells powerfully clean. It's a kitchen where you've addressed the offending material without creating another exposure in the process.
A Safer Order for DIY Odor Control
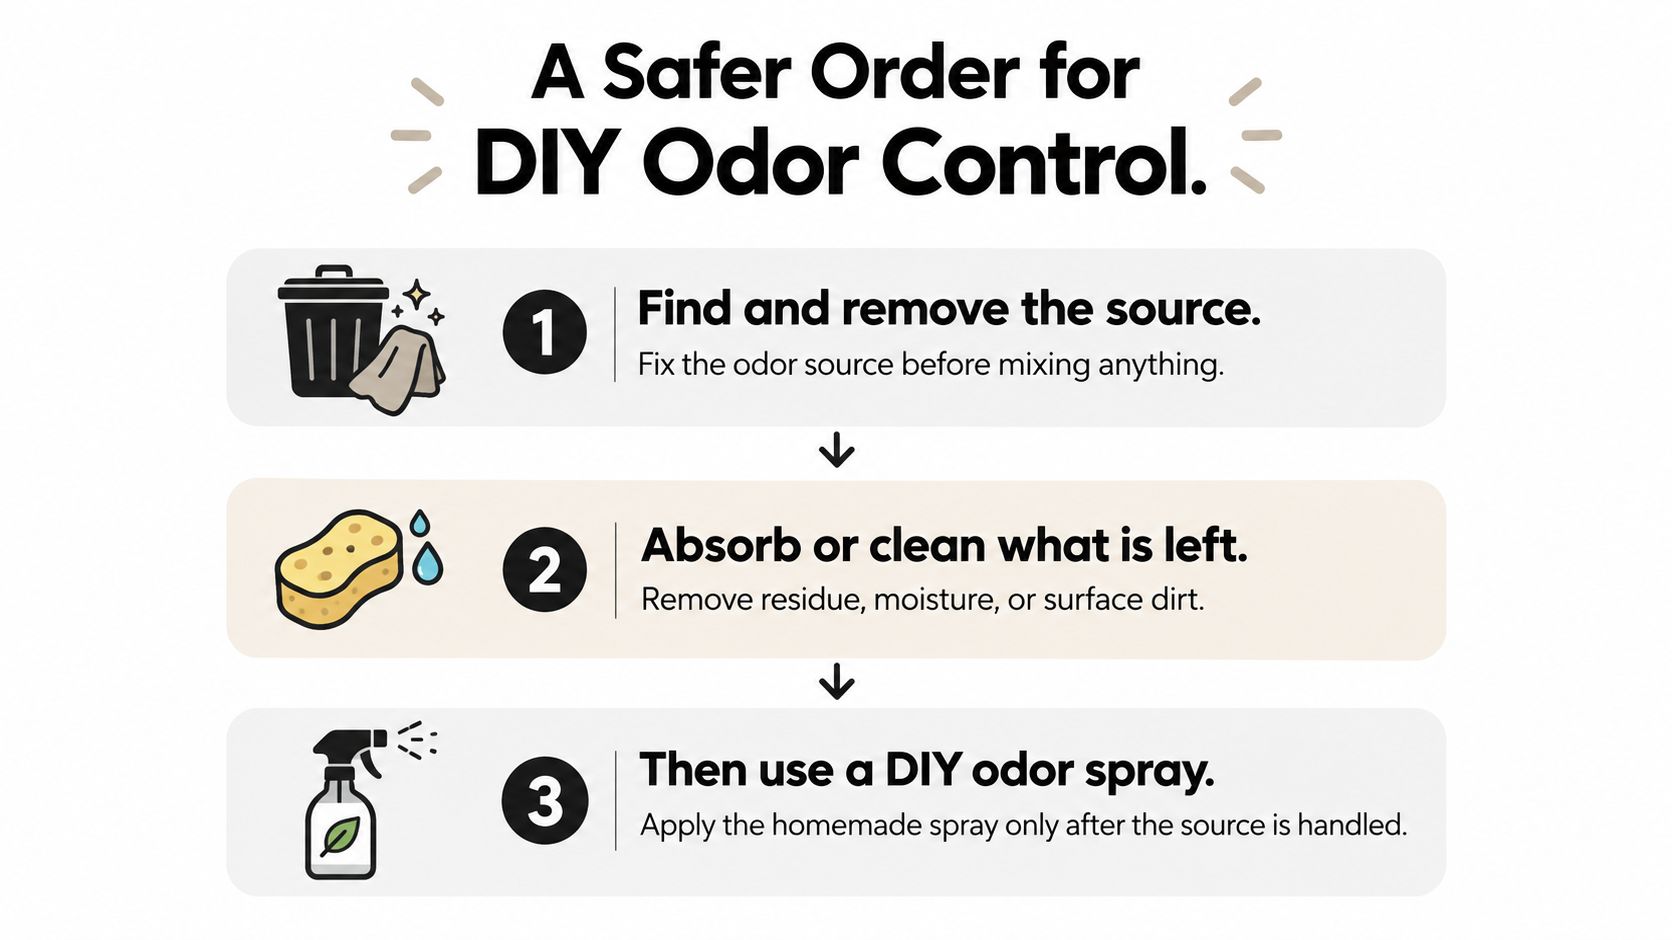
Remove the source first, clean or absorb what remains second, and leave fragrance until last. This order keeps a spray from becoming a substitute for the job you need to do.
Use this hierarchy before choosing ingredients.
Start Where the Odor Lives
Walk through the space with a cleaning task in mind, rather than carrying a spray bottle from room to room.
- Trash and food residue: Empty the container, then inspect the bin and surrounding surfaces. A fresh liner doesn't clean what's underneath it.
- Damp fabric: Set washable towels, removable covers, or clothing aside for laundering. Don't treat a wet textile as an air-freshening problem.
- Pet accidents: Identify the affected material before choosing a treatment. Avoid spreading a general-purpose mix across everything nearby.
- Cooking residue: Focus on the surfaces that need washing rather than scenting the kitchen.
- A closed car: Remove rubbish and inspect mats and upholstery before deciding that the cabin only needs freshening.
These examples aren't interchangeable cleaning instructions. They're prompts to identify the actual job before adding liquid.
Choose Removal Before Scent
Laundering, moisture control, and appropriate surface cleaning belong ahead of fragrance. Baking soda can be useful for mild odor absorption, while activated carbon offers a separate option for certain odorous organic compounds. Neither should be treated as permission to leave dirty or damp material in place.
The word natural doesn't settle the air-quality question. EPA's Care for Your Air guide explains that some terpene-containing cleaning products, including those associated with pine and citrus ingredients, can react with indoor ozone to form pollutants such as formaldehyde and ultrafine particles.
That's a reason to keep essential oils optional, not the foundation of the recipe. For households managing asthma or chemical sensitivity, or homes with children or pets, a fragrance-free approach is a sensible default.
A visual walkthrough can help you keep the cleaning task separate from the freshening step.
This discussion of fragrance and indoor chemistry also highlights why scented products shouldn't be paired with ozone-generating devices or UV-C equipment. Don't try to make a scented spray more powerful by combining it with equipment that may encourage secondary-pollutant formation.
Fragrance can be a preference after the work is finished. It isn't evidence that you removed the source.
How to Mix a DIY Odor Eliminator Spray
Start where the smell starts. If a trash-can lid still has residue, no mist will make the kitchen smell clean for long. Remove the source first, wash or absorb what remains second, and leave any scent for last.
A Mild Nonporous-Surface Mixture
For a compatible hard surface, keep the formula narrow: water plus a small amount of cleaner. As an example ratio, mix about 2 teaspoons of borax and 1 teaspoon of soap in 1 quart of water. Use it to help remove odor-holding residue on sealed, washable surfaces, and skip fragrance oils, alcohol, or peroxide unless a separate cleaning guide specifically calls for them.
- Clear the source: Throw away spoiled food, dry damp spots, and give fresh air a path out.
- Wash before judging: Clean with soap or detergent, rinse if the surface needs it, then reassess.
- Mix gently: Combine the measured ingredients in a dedicated spray bottle; do not combine other cleaners.
- Go small: Dampen a cloth or a limited area, follow the material maker's care directions, and let it dry fully.
Borax needs a clearly marked cleaning bottle and a spot away from children and pets. Keep it off porous or moisture-sensitive materials.
A Separate Path for Fabric
Textiles follow their care label first. Launder washable items; for a nonwashable cushion or rug, use only the cleaning method its tag allows and blot rather than soak.
Baking soda can help with mild odor absorption when the fabric tolerates a dry powder and you can vacuum it away completely. A damp mist fits damp-safe spots, and repeated spraying can push moisture into padding where odor gets harder to remove.
Which DIY Approach Fits the Surface
| Situation | First move | What to avoid |
|---|---|---|
| Compatible hard, nonporous surface | Remove residue and wash appropriately | Treating the homemade mix as a disinfectant |
| Washable textile | Launder according to its care label | Substituting repeated misting for washing |
| Upholstery requiring limited moisture | Follow care instructions and blot only where permitted | Saturating padding or backing |
| Wood, leather, or electronics | Use material-specific guidance | Applying the borax mixture by default |
When comparing household cleaning recipes with vinegar, keep the job in view: vinegar can help with some household residue, yet evidence is too limited to rely on it for germ kill.
Check the Result After Drying
Use a simple 0 to 10 odor rating before cleaning, after the surface is fully dry, and again after 24 hours. As a practical household example, look for a repeatable drop of at least 2 points with no residue, color change, or odor creeping back.
Write the three numbers down. If the wet-hour smell improves but the dry smell returns, the source is probably still there, so restart at removal rather than adding fragrance.
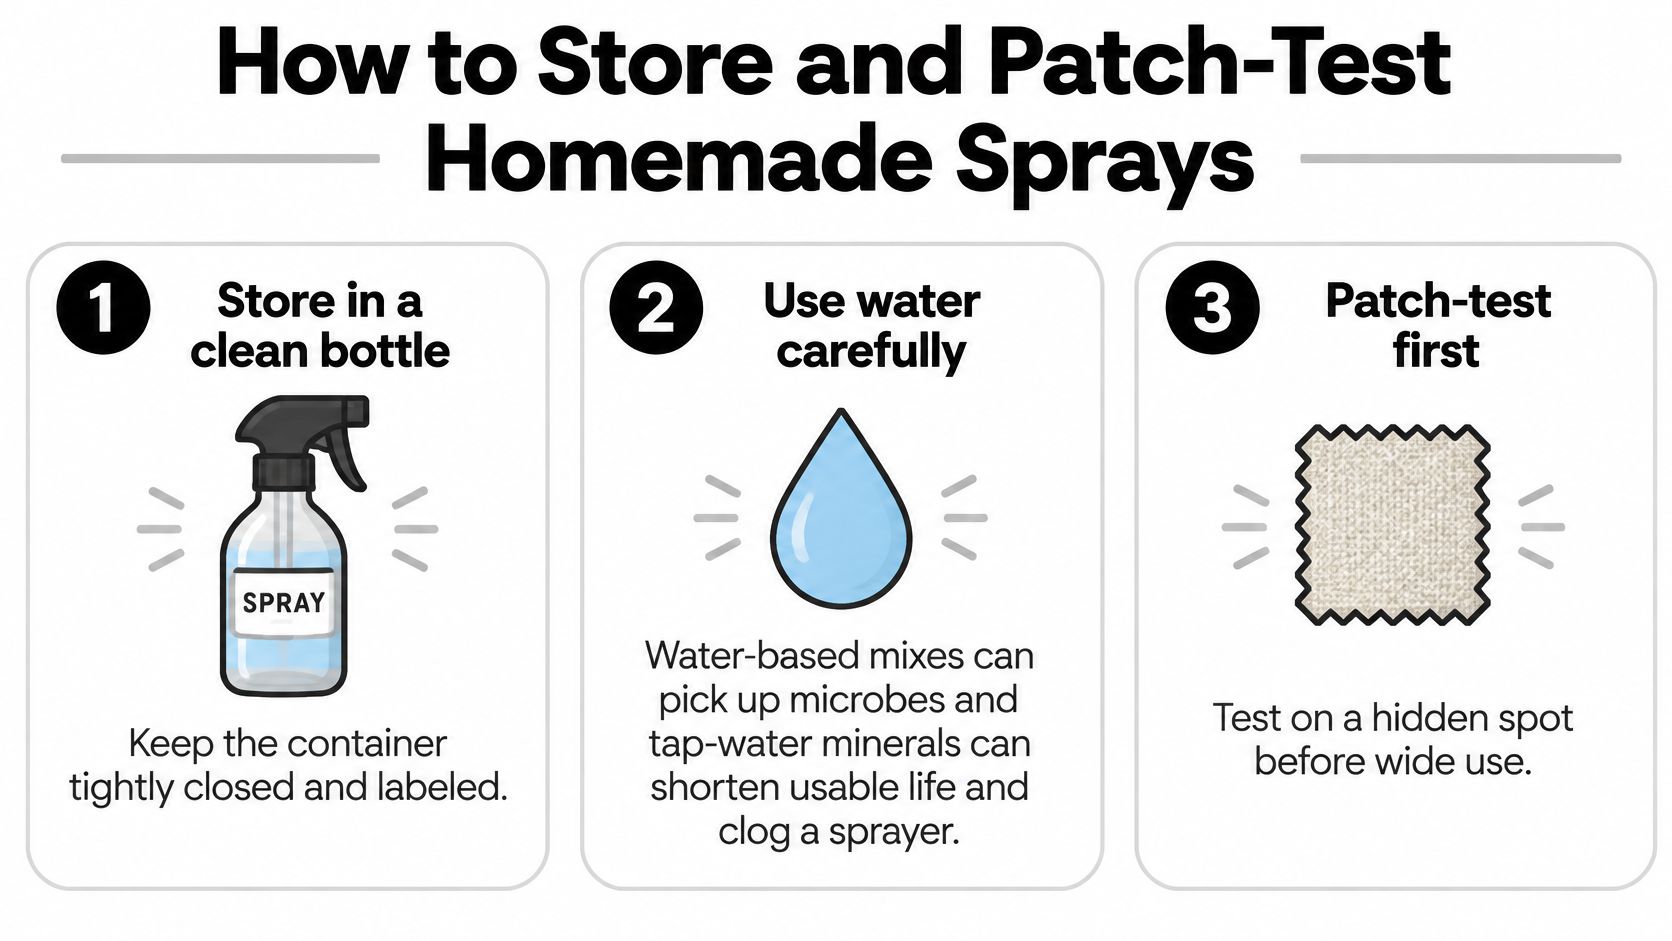
How to Store and Patch-Test Homemade Sprays
The bottle needs care after mixing, too. A homemade water-based mixture doesn't come with an established shelf life, so don't give it an invented expiry date or assume it will remain usable indefinitely.
This practical overview of homemade spray stability notes that water-based mixtures can become contaminated and that tap-water minerals and microbes can shorten usable life or clog a nozzle. It also emphasizes that vinegar, baking soda, alcohol, essential oils, and hydrogen peroxide have different material, inhalation, compatibility, and flammability considerations.
Keep the Bottle Recognizable
Make only a modest batch for the task you have. Use clean or distilled water, but don't mistake that choice for a preservation system.
- Choose a clean container: Use a suitable cleaning bottle that closes securely. Don't use a beverage container.
- Write a useful label: Include ingredients, mixing date, and the intended surface. “Homemade cleaner” alone isn't enough information.
- Store deliberately: Keep it closed in a cool location, away from children and pets.
- Use a clear stop rule: Stop using a mixture if its appearance or odor changes. Don't try to rescue it with extra fragrance or another ingredient.
These habits help prevent confusion when someone else handles the bottle.
Judge the Patch When It's Dry
Choose an inconspicuous area of the actual surface you plan to clean. Apply the same small amount and wiping method you'd use on the visible area, then let it dry completely.
Check for a color change, a ring, sticky residue, or a change in sheen or texture. If you notice any of those, stop. Don't assume that dilution will make the mixture suitable.
A successful patch test checks the material's response. It doesn't prove that a recipe is suitable for every other surface in the room.
Porous upholstery, unfinished wood, leather, electronics, and pet bedding need particular restraint. With moisture-sensitive materials, leftover liquid may be a more important concern than the original odor, especially in humid conditions.
Don't spray toward faces or animals. Keep acidic, oxidizing, and chlorine-containing ingredients separate rather than experimenting with combinations, and retire an unlabeled mixture instead of guessing what it contains.
When the Smell Comes Back Anyway
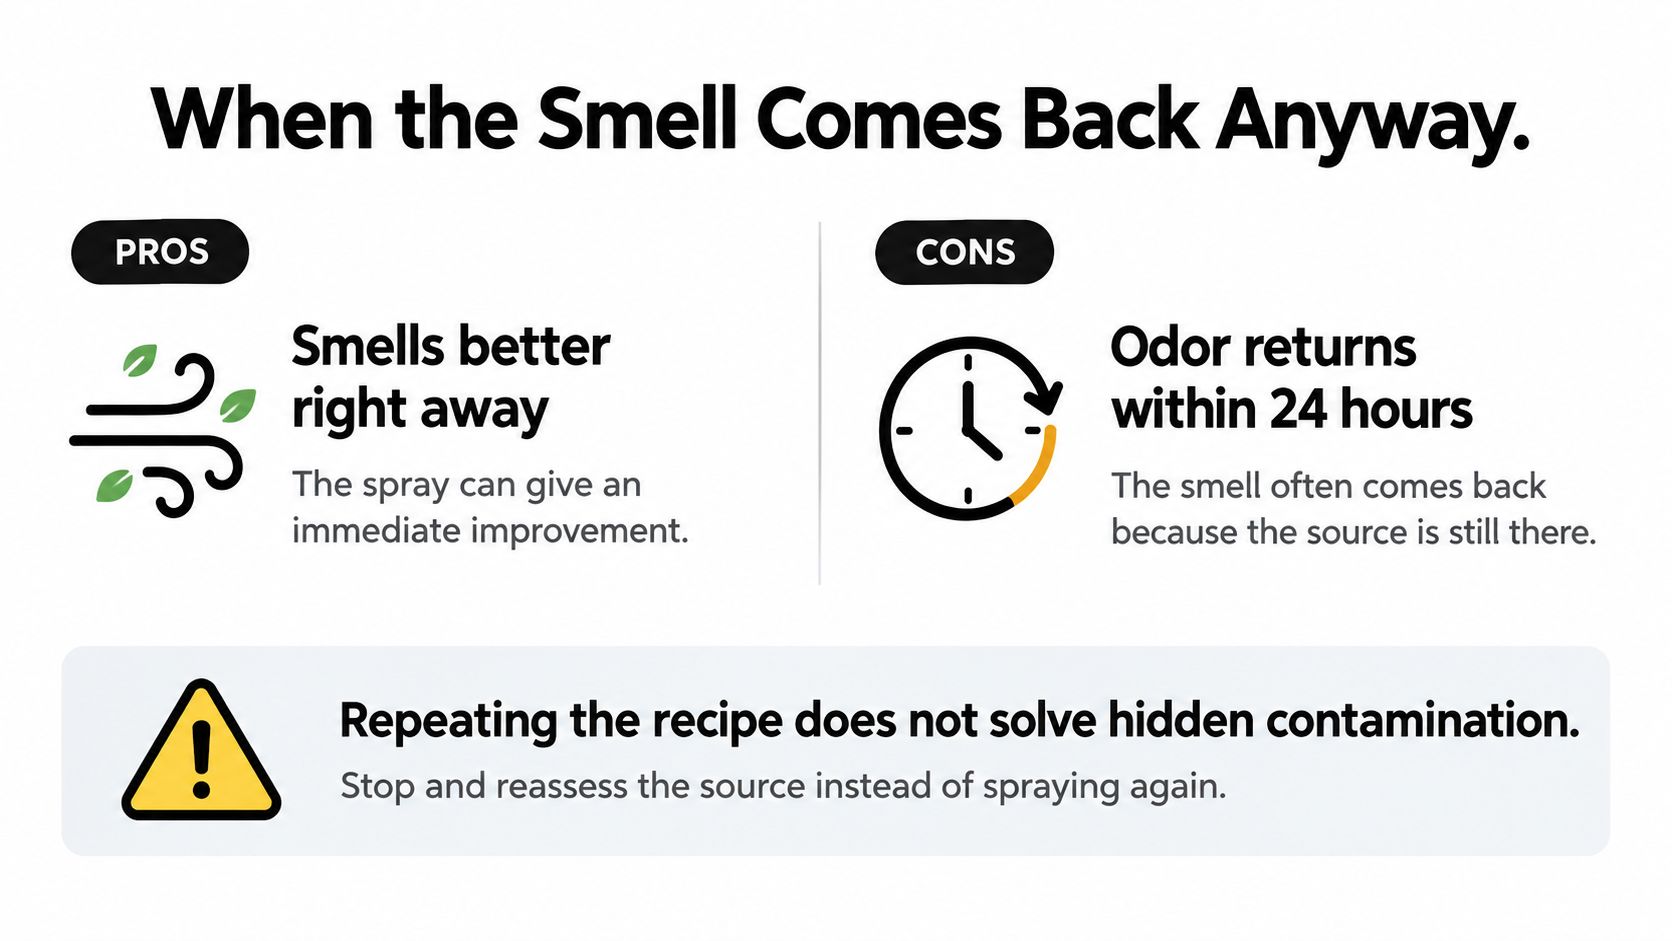
The room smells better immediately after treatment, but the odor returns by the next day. That's a reason to reassess the source, not increase the perfume.
The EPA's indoor-odor guidance supports focusing on source control, ventilation, and appropriate adsorption rather than relying on masking. A smell that improves immediately but returns within 24 hours commonly points to masking or an untreated source, rather than insufficient fragrance.
Use the returning odor as information before making another batch.
Make the Comparison Fair
Choose comparable areas of the same suitable material. Leave a control area untreated, and apply the chosen treatment only to the test area.
If you're comparing treatments, keep the application amount consistent across treated areas. Wait until everything is dry before judging, and, if practical, ask another adult to rate the odor without knowing which area received treatment.
- Improvement that lasts: Record the method and inspect for residue or material changes before repeating it elsewhere.
- Improvement only while wet or scented: Recheck the underlying material instead of adding fragrance.
- No useful improvement: Stop repeating the recipe and reconsider whether the odor is coming from somewhere else.
A household comparison won't establish laboratory performance. It can still prevent you from repeatedly using a mixture that isn't helping.
Don't Turn a Failed Recipe Into a Chemical Experiment
Never combine vinegar or another acidic spray with bleach, ammonia, toilet-bowl cleaner, or an unknown cleaner. Ammonia mixed with chlorine-containing products can generate chloramine gas, and mixed household cleaners can cause serious respiratory injury.
Don't assume a surface is ready for a different product just because the first application has dried. Follow the products' directions for removal and rinsing, and avoid layering cleaners when you don't know what remains.
Use gloves, eye protection when splashing is possible, and strong ventilation. Apply cleaner to a cloth or a limited surface area instead of filling occupied air with mist.
Stop signal: If the odor keeps returning, investigate again before you spray again.
For persistent airborne odor after appropriate cleanup, consider activated carbon designed for odor adsorption and ventilation with outdoor air when conditions allow. Activated carbon has affinity for multiple odorous organic compounds, while ventilation replaces indoor air. Neither removes the need to correct an ongoing source.
When a Store-Bought Odor Spray Is the Better Move
A ready-made bottle makes sense when it matches the remaining task better than a homemade mixture. That doesn't mean every commercial spray removes an odor source, or that a stronger fragrance is a better treatment.
Compare the surface, the care instructions, and what you want the product to do. A cleaner, a material-specific treatment, and a car freshener aren't interchangeable purchases.
Match the Product to the Remaining Job
A washable spill on a compatible hard surface may still suit the mild homemade approach. If the surface tolerates the cleaning method and the dried result is satisfactory, there's no need to buy something just because the bottle promises more.
An odor trapped in moisture-sensitive material calls for a different decision. Don't keep wetting upholstery, leather, or unfinished wood while trying stronger homemade variations. Look for material-specific instructions or professional advice when you can't establish an appropriate method.
A cleaned car cabin that you want to freshen is a more straightforward use for a labeled car spray. Once you've dealt with rubbish, dirty mats, and any affected surfaces, a purpose-made freshener can be simpler than carrying a water-based homemade bottle into the vehicle.
The distinction matters: you're choosing a freshening product for the cabin, not claiming to disinfect it or fix hidden contamination.
Read the Label Before Choosing a Scent
Evo Dyne's car range includes Leather Scent and New Car Smell sprays, sold alongside other home-care items. Treat them as car-freshening options and follow the individual product's directions rather than assuming either is appropriate for every interior material.
The storefront below gives you a starting point for comparing the available products.
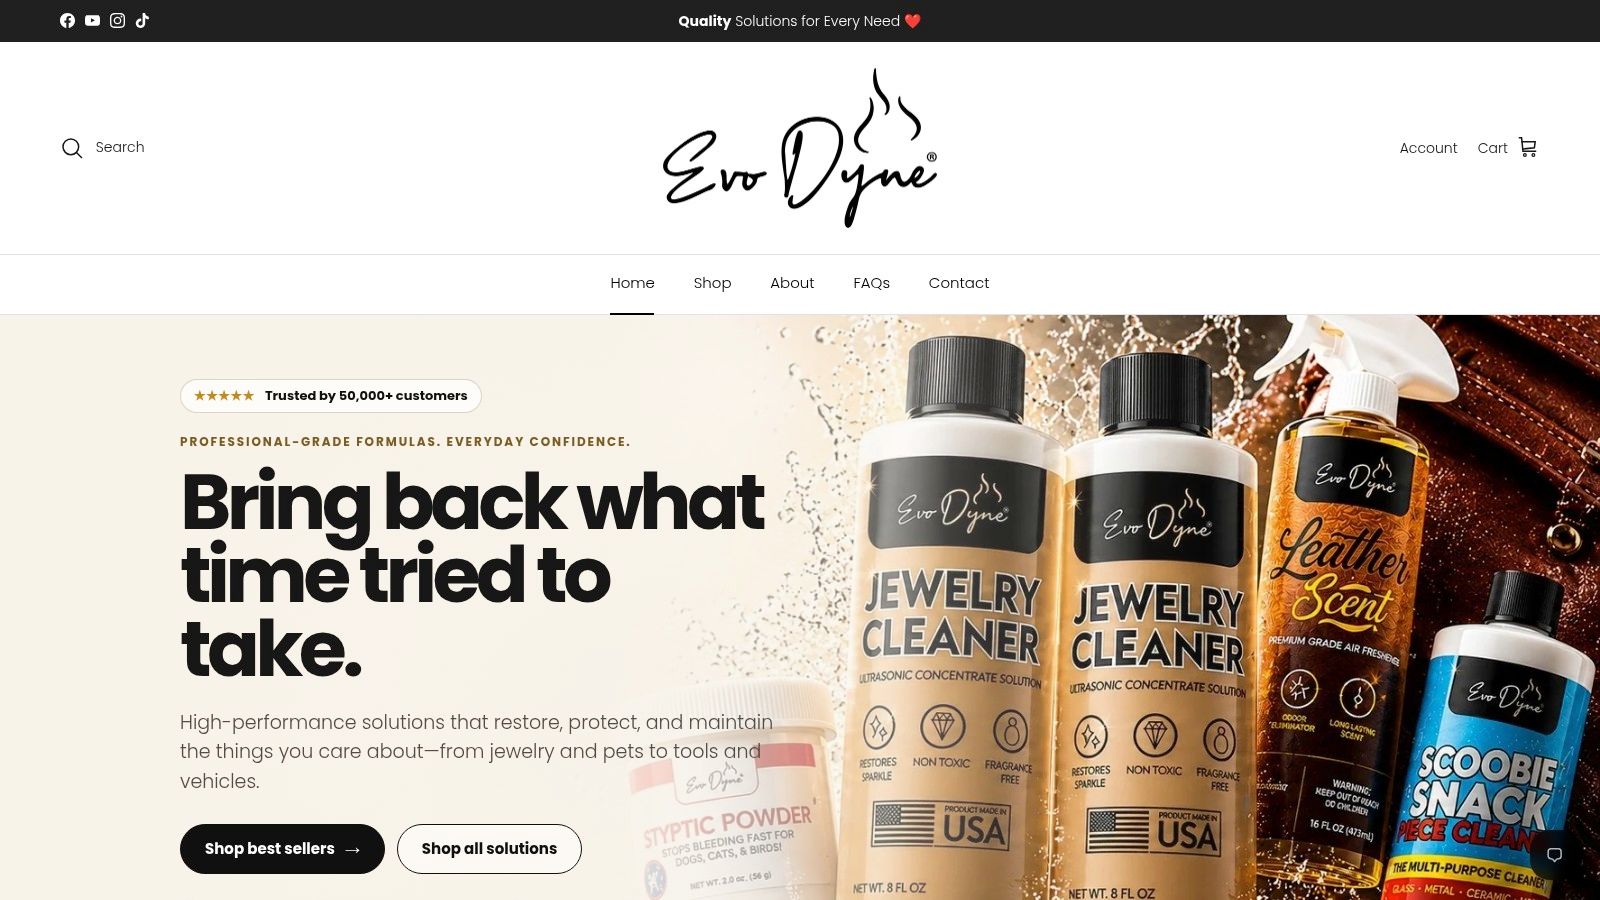
Use the odor-eliminator spray buying guide to frame your questions before ordering. Focus on intended use and application directions rather than interpreting a scent name as a performance guarantee.
- Check suitability: Confirm where and how the product should be applied.
- Separate claims: Freshening isn't the same as disinfection or medical use.
- Review shopping details: Delivery, payment choices, discounts, and return terms matter after you've found an appropriate product.
The brand describes many items as made in the USA in certified facilities and promotes fast delivery, PayPal and Venmo payments, student discounts, and hassle-free returns. Those are shopping considerations, not evidence that a particular spray will solve your particular odor.
For today's cleanup, finish source removal and ventilation, and retire any unlabeled or odd-smelling homemade mix. If the remaining job is only freshening a clean car cabin, choose a labeled car product instead of adding essential oil to your homemade bottle.
Evo Dyne Products offers car air fresheners, including Leather Scent and New Car Smell sprays, alongside household-care products. Once you've handled the source of the odor, visit Evo Dyne Products to compare a labeled car-freshening option with the job you need to finish.