

You've cleaned the floor, opened the curtains, and noticed that the walkway still looks dull beside the boards under the sofa. A bottle promising instant shine sounds tempting. But before you polish engineered hardwood floors, you need to know whether you're looking at dirt, leftover cleaning product, worn coating, or exposed wood. Those problems don't need the same treatment.
My recommendation is simple: don't buy shine until you've identified the finish and the damage. A good maintenance job preserves your floor's protective coating. It doesn't just make the room look better while the product is wet.
Table of Contents
- Why Most Floor Polish Advice Goes Wrong
- Reading Your Floor Before You Touch It
- Choosing Between Polish Cleaner Recoat and Refinish
- Step by Step Polishing Without Damaging the Finish
- Why Shinier Is Not Always Better
- Adjusting Your Routine for Kids Pets and Wet Rooms
- Your Maintenance Schedule and Quick Fixes
Why Most Floor Polish Advice Goes Wrong
The most common mistake is treating every dull wood floor as a polish candidate. Homeowners buy a bottle labeled for hardwood, spread it across the room, and assume compatibility is settled. It isn't.
Engineered flooring has a real-wood surface over a layered construction. The coating on that surface, not just the wood underneath, determines what maintenance products you can use. A bottle's hardwood claim isn't permission to apply it over every factory finish.
Different jobs need different treatments
Keep these terms separate when reading labels or speaking with a contractor:
- Cleaning removes loose soil and compatible, removable contamination.
- Polishing applies a maintenance product intended to alter the surface appearance.
- Screening mechanically abrades an existing coating as preparation for an appropriate renewal system.
- Recoating adds a compatible protective finish over a properly prepared surface.
- Refinishing involves sanding away the existing finish and some wood before applying a new finish.
Screening isn't a gentler name for polishing. Nor is a maintenance polish a substitute for a protective recoat.
The National Wood Flooring Association's maintenance and recoating guidance puts condition assessment, maintenance restrictions, contamination checks, and coating compatibility ahead of application. It also warns that wax, oil soap, abrasive pads, and unapproved cleaners can complicate future recoating.
Practical rule: A product that creates shine today isn't automatically a product you'll want beneath tomorrow's repair.
Start with the least invasive useful treatment
My preferred order is diagnosis, approved cleaning, reassessment, then renewal only if the floor needs it. Don't escalate because the first cleaning didn't produce a showroom reflection. The original finish may never have been glossy.
Your job isn't to make every board reflective. It's to establish whether the existing coating is sound, choose a treatment it accepts, and avoid spending the floor's limited repair options on a cosmetic experiment.
Reading Your Floor Before You Touch It
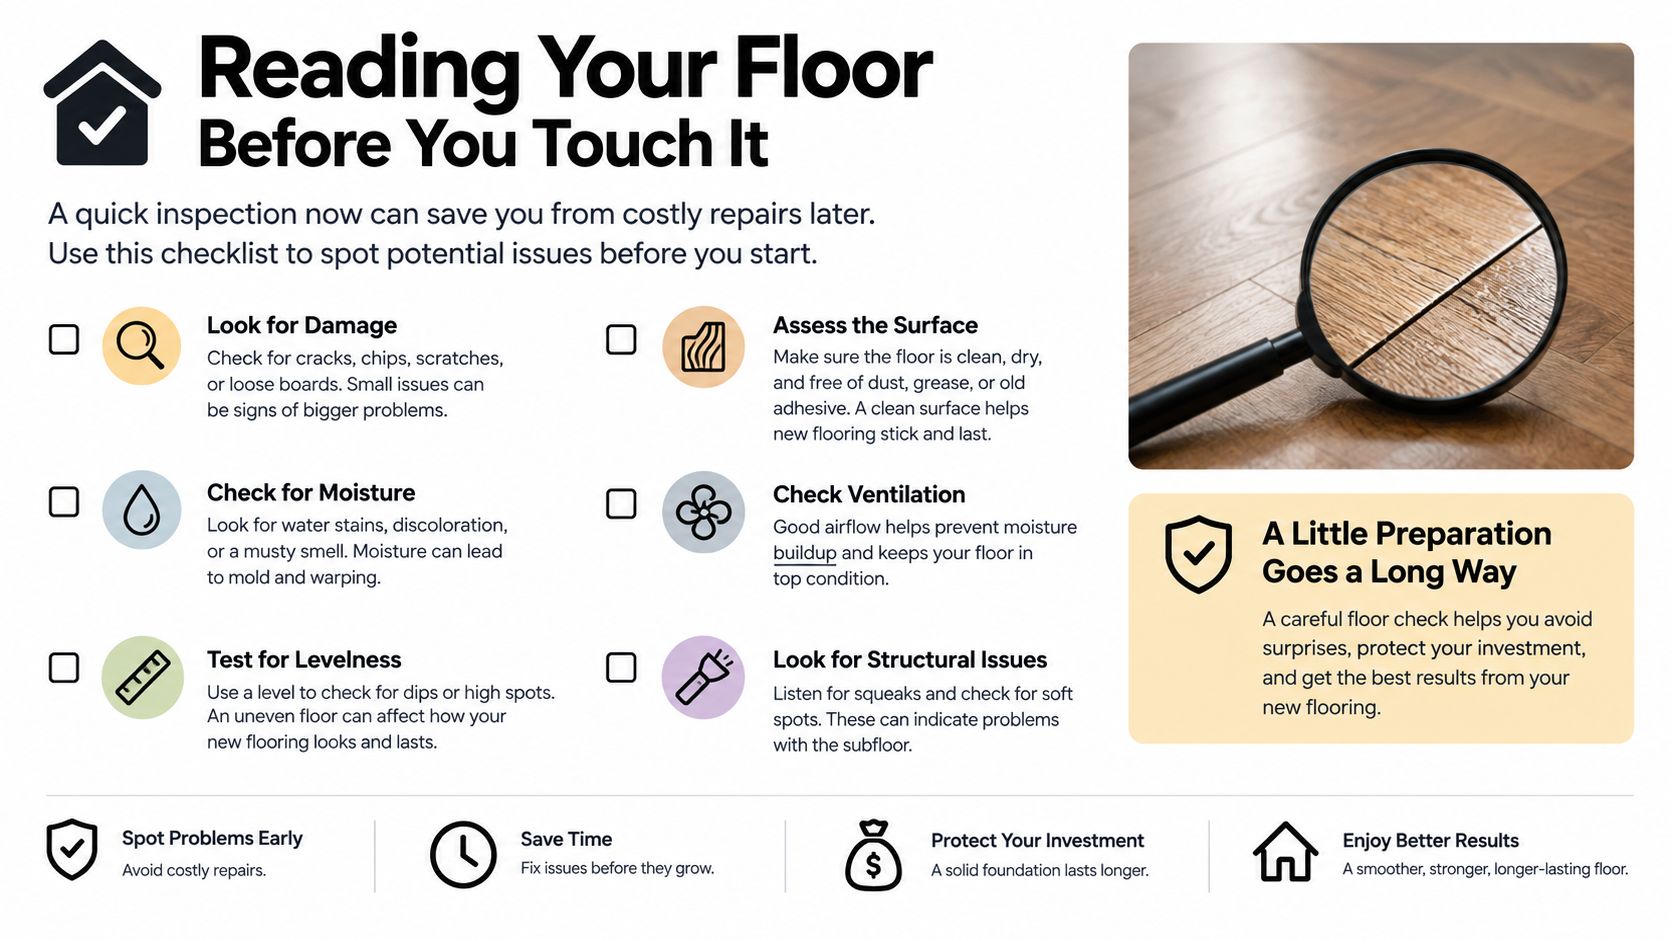
Start with the paperwork, not a water test. Find the manufacturer, collection name, finish specification, and maintenance instructions through your invoice, leftover carton, installer, or retailer. Touch and water beading alone aren't reliable permission to choose a coating.
Make a condition record
Use your phone camera and a flashlight held low across the floor. Photograph the same areas in ordinary room light and at a shallow angle so you can compare them after cleaning.
- Map the dullness. Mark whether it follows walking routes, surrounds the dining table, or appears across the whole room.
- Inspect the joints. Look for lodged grit, damaged edges, and visible changes around seams.
- Separate scratches from coating loss. Record fine surface marks separately from deep damage or areas that appear to expose wood.
- List previous products. Include cleaners, spray mops, waxes, oil soaps, and anything sold as a restorer.
- Record uncertainty. An unknown finish or sanding history belongs on the list, not in the guesswork column.
For background on how a wood surface differs from the material beneath it, Stahl Home Center's furniture material guide provides useful context. It isn't a flooring sanding specification, so don't use furniture veneer advice to authorize floor refinishing.
Check construction without damaging anything
Look for a leftover board or an already exposed cross-section at an accessible transition. Don't pry up installed flooring to measure it. Ask the manufacturer to confirm the wear layer and any refinishing restrictions.
If accumulated grime is your main concern, use the guide to cleaning an old hardwood floor as preparation for a careful cleaning assessment.
Finish with a written summary: known or unknown coating, visible damage, previous products, and the result of a small approved cleaning test. You don't need to name every defect perfectly. You need enough information to avoid treating contamination as wear, or wear as dirt.
Choosing Between Polish Cleaner Recoat and Refinish
Choose the intervention that matches the defect, not the bottle with the most dramatic before-and-after picture. A cleaner, maintenance polish, recoat, and full refinish have different jobs. None is a universal upgrade over the others.
Polish vs Cleaner vs Recoat vs Refinish
| Intervention | Best For | Finish Compatibility | Impact on Veneer | Typical Result |
|---|---|---|---|---|
| Hardwood cleaner | Removable soil or residue on an intact coating | Must match the floor's maintenance instructions | No intentional wood removal | Reveals the existing finish |
| Maintenance polish | Cosmetic improvement where explicitly permitted | Requires approval for the existing coating | No intentional wood removal | Changes surface appearance without repairing wood damage |
| Abrasion plus recoat | Worn but intact finish | Requires preparation and an adhesion test | Intended to work at the coating level | Renews the protective finish |
| Full refinish | Severe damage or wear through the finish | Requires a suitable construction and finish system | Removes some wood | Rebuilds the finished surface where sanding is feasible |
Cleaner comes first when the coating is intact. If a test patch improves after proper cleaning, repeat that approved process rather than covering the remaining room with another product. Cleaning should reveal the intended appearance, not impose a different sheen.
Polish belongs in a narrower category. Use it only when the floor manufacturer allows that maintenance treatment and the product is suitable for the existing coating. Don't mistake a cosmetic improvement for repair of a gouge, damaged edge, or exposed veneer.
The wear layer sets the sanding limit
A professional recoat is the practical choice when the protective coating needs renewal but remains intact. Full refinishing is a different decision because it consumes wood.
Floor Covering Weekly's engineered-hardwood coverage notes that wear layers around 3 mm or more may sometimes permit refinishing, while approximately 1 mm veneers generally can't be sanded safely. Those dimensions aren't automatic approval: previous sanding and the manufacturer's restrictions still matter.
When comparing a bottled restorer with contractor work, the wooden floor restorer guide is a useful place to frame the product question. Ask whether you need appearance maintenance or actual coating renewal.
Don't buy a cosmetic treatment to solve damage that needs a repair.
If you can't confidently select a row in the table, stop before application. Identifying an unknown finish is cheaper in effort than removing an incompatible treatment from the whole room.
Step by Step Polishing Without Damaging the Finish
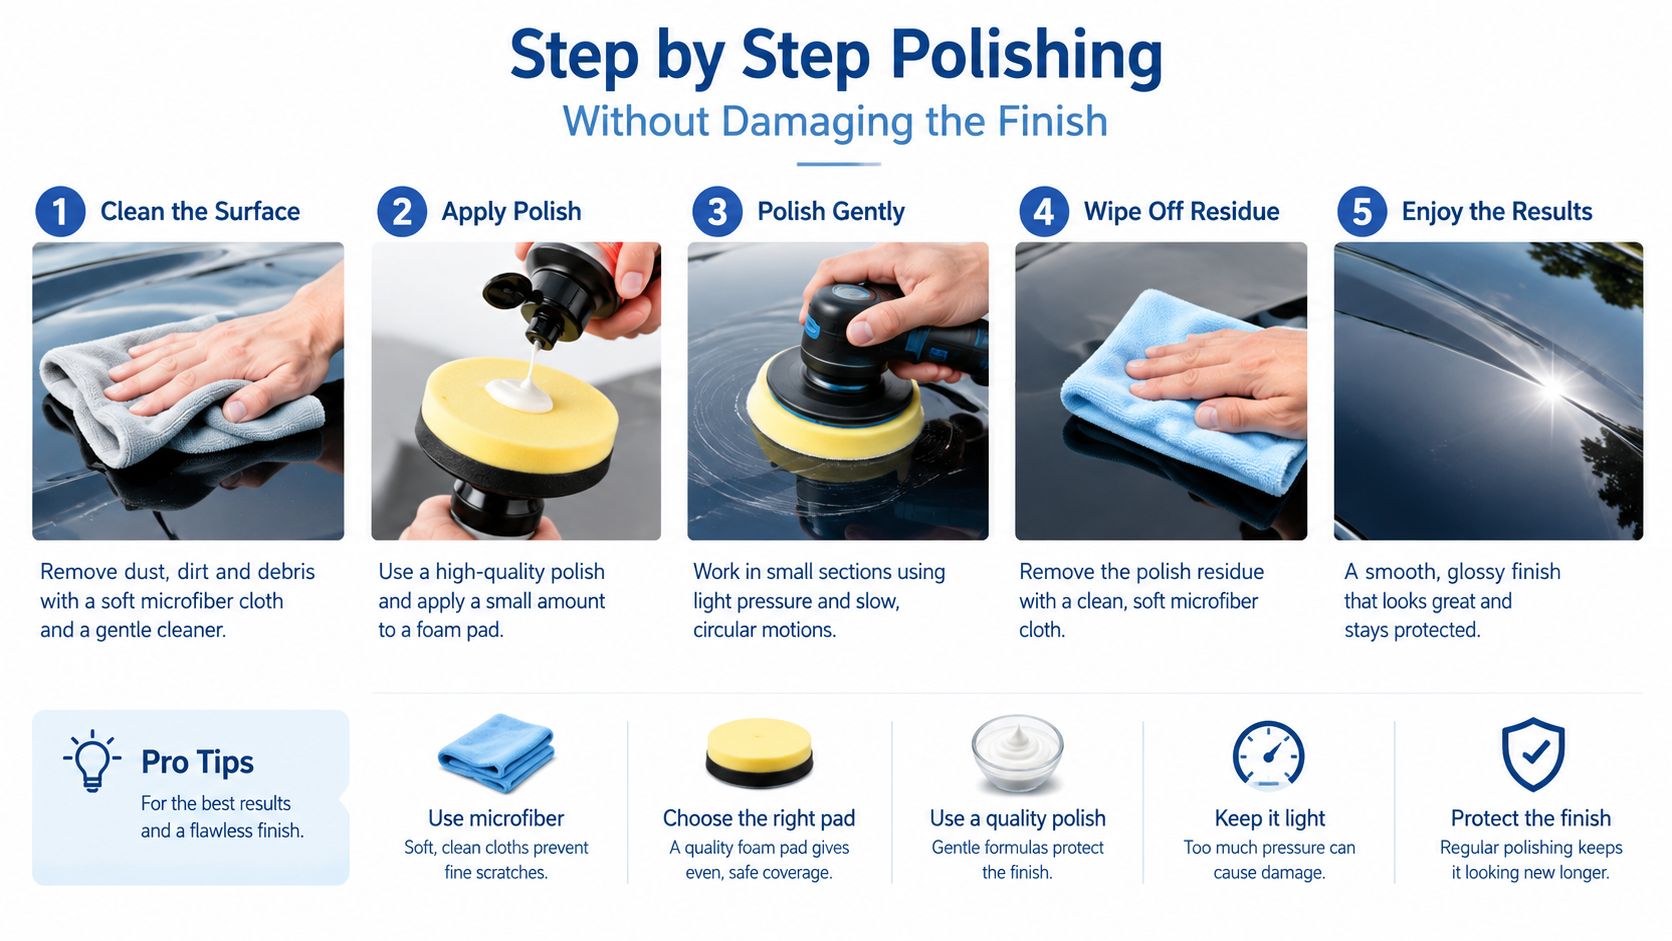
This procedure is for a floor whose manufacturer permits the chosen maintenance polish. It isn't a DIY screening or sanding procedure. If your floor needs mechanical abrasion and a new protective coating, arrange a professional recoat instead.
Prepare the floor and your exit route
Clear the working area and plan how you'll leave without walking across freshly treated boards. Gather a hard-floor vacuum attachment, clean microfiber dust pad, approved hardwood cleaner, and the applicator specified on the polish label.
Remove dry grit first. Vacuum carefully along joints and edges, then collect remaining dust with the microfiber pad. Don't use the polishing applicator as a cleaning tool.
Next, clean with the approved product at its labeled dilution, if dilution is required. Use the minimum moisture needed and let the surface dry as directed. Don't assume a cleaner that feels dry has left a surface ready for every subsequent treatment.
Test before treating the room
Apply the polish to an inconspicuous area using the intended applicator. Allow the labeled drying and curing period, then inspect its appearance and feel before proceeding.
Stop if you see cloudiness, uneven wetting, tackiness, or a sheen you don't want. Don't dismiss a failed test patch as something another coat will fix.
For questions about machine work, Savera Wood Floor Refinishing's material on how to avoid mistakes when buffing floors is relevant background. Keep that operation separate from spreading a maintenance product.
Apply according to the actual label
Work in manageable areas and maintain the application pattern the manufacturer specifies. Use its stated coverage rate and approved applicator, rather than a universal spoonful-per-area recipe.
- Choose the specified pad. Don't substitute lambswool for microfiber, or the reverse, without checking the instructions.
- Control the application. Spread the product evenly without leaving puddles or loaded edges.
- Respect the coat instructions. Don't add another coat merely because more sounds more durable.
- Leave drying product alone. If lap marks appear, stop and seek the product maker's correction method instead of repeatedly working the area.
Don't finish with an automatic buffing pass. Buff only if the product instructions require it.
Keep people and pets away for the stated period, and follow separate instructions for furniture, rugs, and routine cleaning. There's no responsible universal cure time for every polish and factory coating combination. The label and flooring manufacturer's requirements should control the job.
Why Shinier Is Not Always Better
If your floor was designed to be matte, making it glossy isn't restoration. It's changing the appearance you bought. My advice is to preserve the intended sheen unless you've deliberately chosen a compatible new finish system.

Measure the result you actually want
A wet-looking application photo isn't proof of a successful renewal. Inspect the cured surface under ordinary lighting and low-angle light. Look for even appearance, clean bevels, and the absence of pooling or lap marks.
For professional verification, the ANSI engineered-wood-flooring standard references 60-degree specular gloss measurement and identifies below 15 gloss units as low gloss, 15–49 as medium gloss, and 50 or higher as high gloss. These are categories, not a ladder every homeowner should climb.
Ask a contractor to record representative locations before work and measure those same locations after curing. A phone photograph is useful documentation, but don't treat it as an instrument reading.
A better acceptance test: Does the cured floor look consistent and retain its intended character, without creating a walking-safety concern?
Separate reflection from traction
The same standard references ASTM D2047 for coefficient-of-friction testing of polish-coated surfaces. Gloss and friction are separate performance questions. You can't determine safe traction from how strongly a window reflects in the floor.
For a homeowner, that means asking the product supplier about suitability and walking performance rather than relying on a shine claim. If the treated surface feels unexpectedly slippery, restrict access and contact the supplier.
I'd rather see a consistent low-sheen family floor than a highly reflective floor with visible application marks. Choose the appearance that suits the original coating and the way you use the room. More reflection isn't evidence of more protection.
Adjusting Your Routine for Kids Pets and Wet Rooms
Consider a hypothetical family with children, a golden retriever, and a back door opening into the kitchen. Their biggest maintenance challenge isn't insufficient gloss. It's what people and paws bring across the floor, plus what gets spilled around meals.

A busy family home needs prevention first
For that household, I'd put effort into entry mats, furniture protection, prompt spill pickup, and targeted cleaning. I wouldn't put recurring polish applications on the calendar.
Floor Covering Weekly's coverage of flooring looks and performance describes engineered hardwood as requiring wood-specific care despite its moisture and traffic advantages over solid wood. It also discusses aluminum-oxide finishes and matte, textured, and wire-brushed surfaces selected partly to disguise everyday marks.
Build the routine around the risk zones:
- Back entrance. Collect tracked-in grit before the family carries it farther through the house.
- Kitchen walkway. Blot splashes instead of spreading them across adjacent boards.
- Pet-feeding area. Check around and beneath bowls for moisture after use.
- Bathroom doorway. Address recurring wetness rather than treating polish as a moisture barrier.
An aluminum-oxide finish still needs the compatibility check established earlier. Don't assume its durability means it accepts any maintenance film.
A quiet condo may need no polish
Now consider a hypothetical condo occupied by someone who removes outdoor shoes and has little foot traffic. If approved cleaning restores an even appearance and the coating is intact, I'd leave it alone.
That homeowner doesn't need the busy family's cleaning frequency, and neither household needs a predetermined polishing anniversary. Use condition and household activity to set the routine.
If a previously treated floor becomes cloudy or sticky, pause product application. Record what was used and where the problem appears. Don't add a stronger cleaner or another gloss layer without confirming the removal procedure.
Call a professional when you find coating loss, deep damage, or persistent changes around joints. In moisture-prone areas, resolve the source of water before discussing cosmetic renewal.
Your Maintenance Schedule and Quick Fixes
Use a schedule as a reminder to inspect, not as permission to apply chemicals whether the floor needs them or not. The practical routine below is a planning framework. Adjust it to the floor's instructions and what your household tracks, spills, and wears into the surface.
A schedule worth keeping
| Checkpoint | What to do | What to avoid |
|---|---|---|
| During everyday use | Pick up spills and visible grit promptly | Leaving contamination until cleaning day |
| Weekly review | Check traffic routes and use a clean microfiber dust pad as needed | Pushing a dirty pad around the room |
| Monthly review | Decide whether an approved damp clean is necessary | Wet-mopping simply because the calendar says so |
| Seasonal inspection | Compare photographs of joints, scratches, and dull areas | Treating every change as a polish problem |
| Annual assessment | Review finish condition and maintenance history | Automatically polishing or booking a recoat |
Keep product names and application dates in a note on your phone. Save photographs of labels, especially dilution, removal, and cure instructions. That record gives a contractor something useful to work with if a future coating won't bond.
Troubleshoot without making removal harder
Hazy film: Stop adding products. Check whether the haze appeared after a new cleaner or polish, and ask its manufacturer for the approved removal method. Don't assume the regular hardwood cleaner can remove every maintenance coating.
Streaks or lap marks: Review the application rate, drying conditions, and whether you worked back over a drying area. Get a correction procedure for that specific product before buffing, stripping, or recoating.
Sticky surface: Keep traffic off the affected area and identify everything applied beneath and over it. Tackiness isn't permission to experiment with solvents or stronger mixtures.
These symptoms don't identify a single cause by themselves. Treat them as reasons to investigate, not diagnoses that justify the same stripping recipe.
Know when to hand over the job
- Exposed wood or deep damage. Get the remaining wear layer and repair options assessed.
- Unknown factory coating. Have compatibility established before renewal work.
- Floating floors or beveled boards needing abrasion. Use a professional who can plan the preparation appropriately.
- Persistent joint or edge changes. Investigate the underlying condition before covering the surface.
Before you polish engineered hardwood floors, you should be able to name the finish, explain the problem, and identify the approved treatment. If you can't, your next purchase should wait. A documented assessment is more useful than another bottle of shine.
Evo Dyne Products offers home cleaning solutions and a wooden floor restorer intended for surface-worn wood floors. Visit Evo Dyne Products to review the floor-care options and application guidance, then confirm compatibility with your engineered floor's existing coating before choosing a treatment.