

You've got a bag, jacket or car seat that looks dry and faded, and a tub of leather cream restorer in your hand. It's tempting to work it straight into the most visible panel and hope the color comes back. That's where most avoidable damage happens. A cream that suits smooth finished leather can darken unfinished leather, dull a coating or leave suede matted, and you often can't reverse it. I would decide by leather type and patch test first, every time. More cream is rarely better, and a good result is mostly restraint.
Table of Contents
- Matching a Cream Restorer to Your Leather Type
- Choosing the Right Cream Restorer
- Preparing Leather Before Any Product Touches It
- Patch Testing and Applying Cream Restorer
- Common Problems and How to Fix Them
- How Often to Reapply and What to Pair It With
- Deciding Whether to Continue, Stop or Refer
Matching a Cream Restorer to Your Leather Type
Most failed restorations start before any cream is opened, because someone misread the leather. Leather isn't one material. How it reacts is set by three things you can check without specialist tools.
Tannage is the first. Vegetable-tanned leather tends to absorb oils fast and darken. Chrome or mineral-tanned leather is what's used for most modern shoes, bags and car interiors, and it usually takes product more slowly.
Finish is the second. Aniline leather has little surface coating, so it absorbs and shows color change easily. Pigmented or coated leather has a color layer on top, so cream mostly sits on that layer and can change sheen instead. Suede and nubuck have a raised nap that a cream flattens.
Condition is the third. Sound but dry leather is a different job from leather that's flaking, cracking structurally or crumbling at the edges. Cream can improve feel and appearance on the first. It can't rebuild broken fibers on the second.
The Hoerner leather care guide recommends balm or cream for smooth leather, but warns that heat can rapidly remove moisture and cause hardening, shrinkage, or cracking. That warning matters because a product being right for smooth leather doesn't make it safe in every setting. A seat left in a hot car, or a bag dried near a radiator, needs the heat source dealt with before you add anything.
Use this check before you buy or open anything. Look at a cut edge inside a pocket or under a strap to see if the color goes through or sits on top. Feel a hidden area for coating, flaking or stickiness. Note what the item does, too. A handbag handled daily, shoes flexed and rained on, a car seat rubbed by clothing, and a rarely used sofa all put different stress on the same finish. If you're weighing up furniture, it helps to compare full grain and top grain sofas so you know what surface you're maintaining.
| Leather type | Cream restorer fit | Why it matters |
|---|---|---|
| Smooth finished or aniline leather | Usually suitable after a patch test | Balm or cream suits smooth leather, but heat can dry it out |
| Unfinished vegetable-tanned leather | Use with caution | Absorbs quickly and can darken |
| Coated or pigmented leather | Test first | Cream can dull the coating or shift colour |
| Suede or nubuck | Not suitable | Surface is easily disturbed; use specialist care |
| Rawhide, semi-tanned or historic leather | Not suitable | Refer to a conservator |
| Faux or polyurethane leather | Check the manufacturer | Cream may leave residue on synthetic surfaces |
Stop rule: If you can't name the leather type after checking the edge, finish and condition, don't apply a cream yet.
That single rule prevents most bad outcomes. An unnamed material gives you no way to predict darkening, residue or finish damage, and guessing is how a small dry patch becomes a permanent dark one.
Choosing the Right Cream Restorer
Match the product to the finish, not to the brand name on the front. A leather cream restorer for smooth finished leather is a different purchase from a pigmented product meant to put color back, and neither belongs on suede.
Read the label for three things
- Listed leather types: It should name smooth, finished or aniline leather if that's what you have. Vague claims about all leather are a warning sign.
- Base and additives: Note whether it's water-based or solvent-based, and whether it contains fragrance, colourant or alcohol.
- What to skip: Don't buy products listing bleach or alcohol for this job. Harsh chemicals can penetrate leather and cause staining or fading.
A pigmented colour restorer changes the surface color. That's refinishing work, not conditioning, so it needs its own patch test and a realistic expectation. It can even out scuffs and light fading on finished leather. Deep color loss, worn-through coating or peeling usually needs professional refinishing instead.
For drivers comparing bundled options, Vorsprung Autowerk's Wash Whips kit is an example of the kind of kit worth checking against those same label points before you assume every bottle in it suits your seats.
| Product type | Suitable leather | Main risk |
|---|---|---|
| Cream or balm restorer | Smooth finished or aniline leather after a patch test | Heat can dry it out; excess darkens and sticks |
| Pigmented colour restorer | Finished leather with fading or scuffing | Changes colour; deep colour loss may need professional refinishing |
| Alkaline saddle soap | Cleaning only, never directly before a cream | Damages naturally acidic vegetable-tanned leather |
| Cream on suede, nubuck or historic leather | None without professional assessment | Dressings can darken, stick and attract dust |
Buy the smallest container suitable for the item. You'll use far less than you expect when you apply it thinly, and a large tub encourages heavy coats. Work in a ventilated room, wear nitrile gloves, keep the product away from children and pets, and store it closed away from heat. Write the product name, batch and date on the label so your maintenance log stays reliable.
Preparing Leather Before Any Product Touches It
Preparation isn't about making the leather look finished. It's about removing anything that could react with the cream or hide a reason to stop.
Content about chrome tanning helps explain why this step varies so much between items. A 2024 review of leather production reports chrome tanning represents approximately 63% of leather volume used in automotive applications, 75% in leather goods and footwear, and 100% in garment leather. Vegetable-tanned, chrome-tanned, coated and finished leathers differ in sensitivity to oils and solvents, so identify yours before you decide how hard to clean.
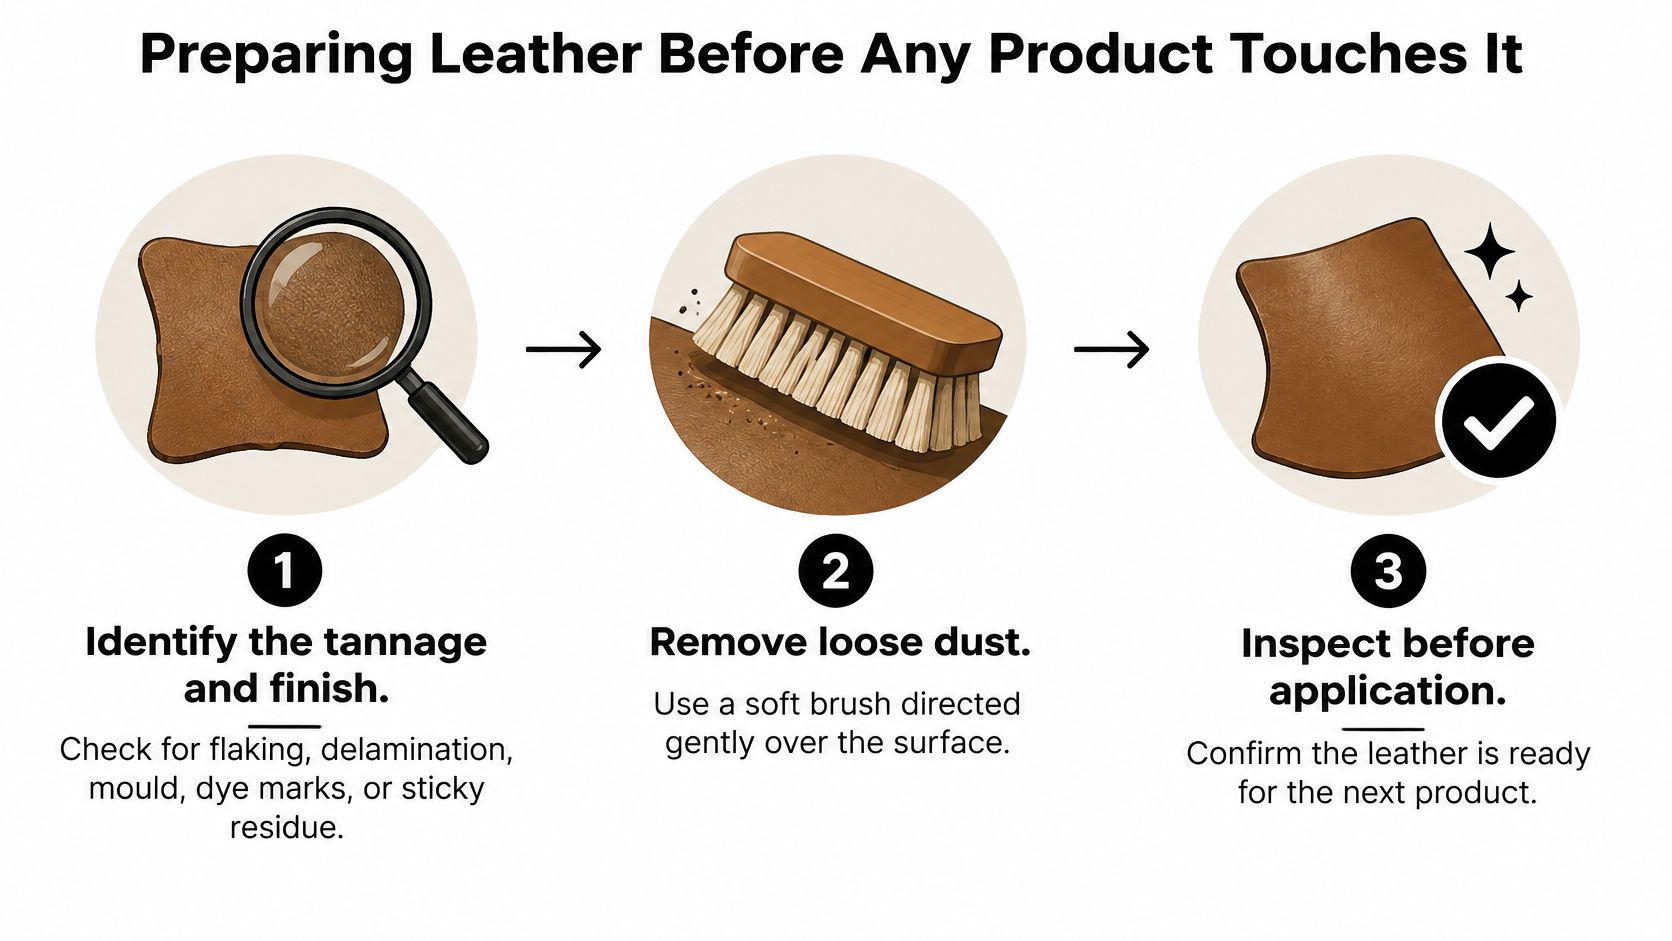
- Inspect first: Look for flaking finish, delamination, mould, dye marks, cracking and sticky residue. If the finish is lifting or powdery, stop here and get advice.
- Remove loose dust: Brush with a soft brush toward a low-suction vacuum covered with fine screening. Dust left behind gets worked into the surface by the cloth.
- Clean only if needed: Use a dry, lint-free cloth. Avoid soaking the leather with water, and don't use alkaline saddle soap on naturally acidic leather, since it can damage the tannage.
- Let a wet item dry fully: Don't put cream over damp leather. Give it about 24 hours away from direct heat, then check it again.
- Lay out your tools: You'll want soft lint-free cloths, a separate white cloth for transfer checks, a soft brush and a timer or phone for drying notes.
- Photograph the baseline: Take a clear photo in steady light showing color and sheen. Memory is unreliable after a day, and the photo shows whether a patch has darkened.
Don't prep a panel you're not going to test. Clean a small hidden area first, exactly as you'd clean the rest, so the test reflects the real job.
That last point keeps the test honest. If cleaning alone lifts dye or disturbs the finish, you've learned it in the safest place possible.
Patch Testing and Applying Cream Restorer
The patch test is not optional. It's the only way to see how your specific finish responds before the whole item is committed. The National Park Service leather and skin guidance advises testing the cream on a concealed area, applying the smallest possible amount with a soft lint-free cloth, then assessing darkening, gloss change, tackiness, dye pickup, and odor after drying.
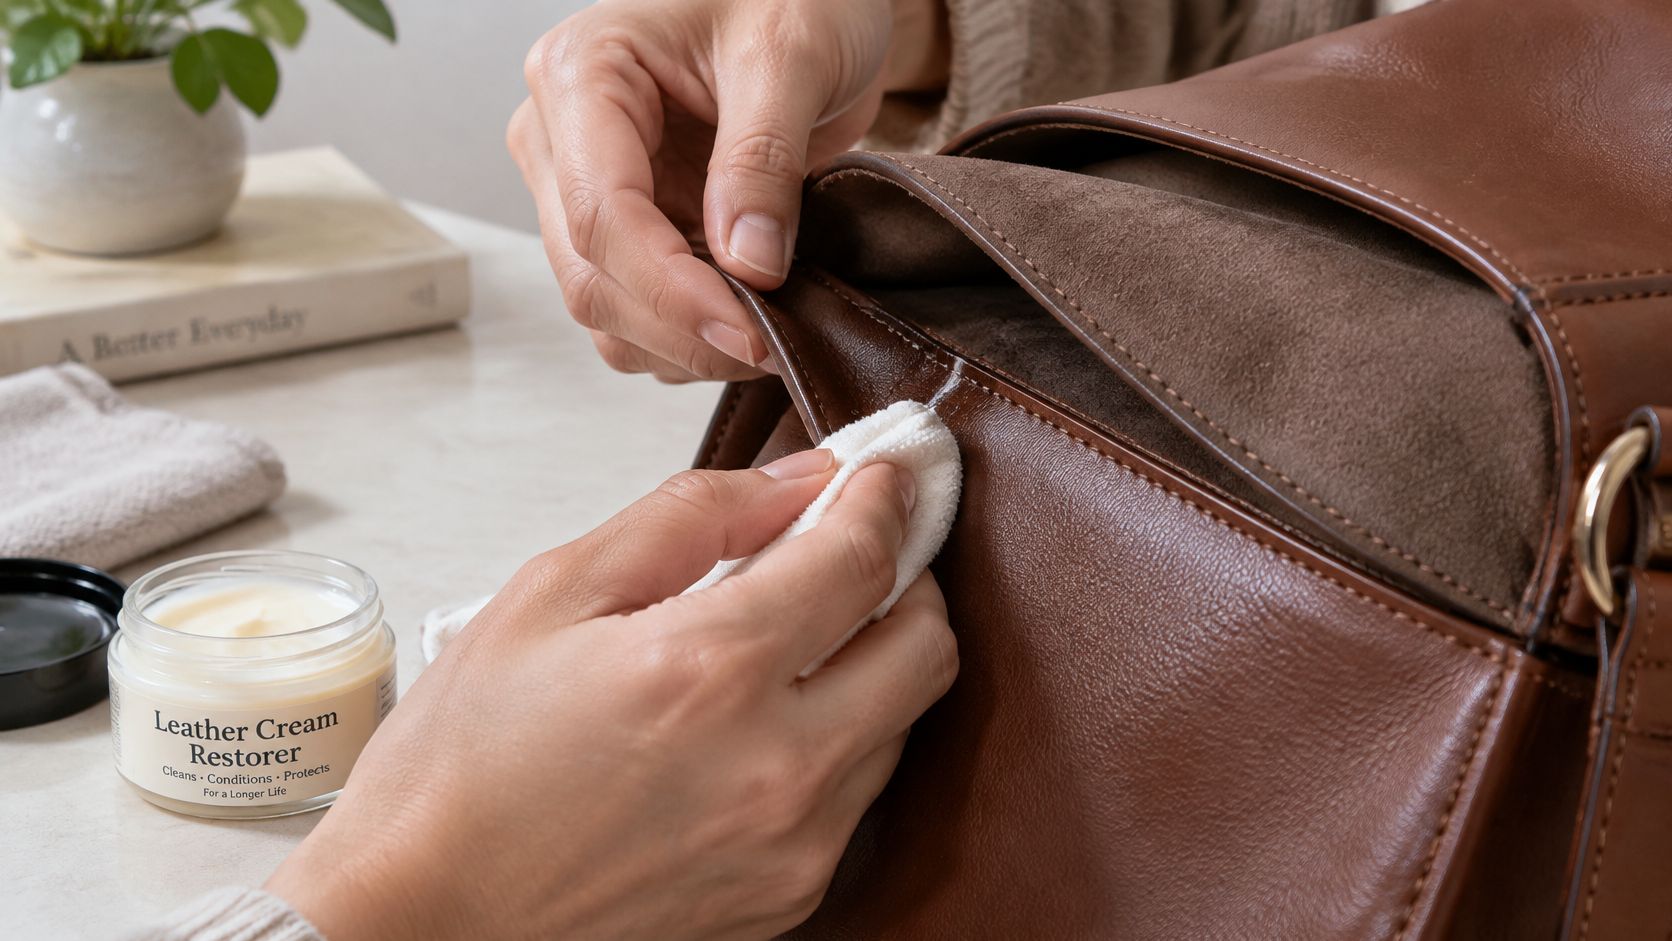
Run the test properly
- Pick a hidden spot: Use a seam allowance, the underside of a flap, an inside pocket edge or a back panel that faces a wall.
- Use a pea-sized amount: Put it on the cloth, not directly on the leather, so you control the dose from the first touch.
- Work a thin, even coat: Use light, overlapping strokes. You shouldn't see pools or wet streaks sitting on the surface.
- Wait until it's fully dry: Give it at least 24 hours. Many bad reactions, especially tackiness and permanent darkening, only show once the product has settled.
- Check five things: Compare color against your baseline photo, look for gloss change, press a clean fingertip for tack, rub with the white cloth for dye pickup, and note any lingering odor.
Pass only if nothing has changed. A slight improvement in feel with no darkening, no dye on the cloth and no sticky finish is a pass. Any one failure means stop. Don't test a second product on the same spot straight away, and don't move to a visible panel hoping it'll behave differently there.
The benchmark isn't immediate softness or shine. It's the absence of adverse change after drying.
Freshly creamed leather almost always looks richer while it's wet. That tells you nothing. Judge it dry, in normal light, against the untreated area next to it.
Apply to the rest only after a pass
Work one panel or section at a time, in the same thin coats you tested. Keep the cream out of seams, stitching holes and perforations, where it collects and stays sticky. Stay off suede or nubuck trim, rawhide parts and any area where the finish already looks unstable.
Let each coat dry completely before you decide whether another is needed. Most items need one. A second coat is justified only if the first dried cleanly and the leather still looks dry in the same even way, not because you want more shine.
Buff gently with a clean, dry cloth once it's dry. You're removing surface excess and evening the sheen, not polishing until the product disappears. Stop when the appearance is right, not when the product is fully absorbed. Leather that keeps drinking product isn't asking for more. It's often very porous, unfinished, or damaged, and continued application is how dark, oily patches form.
Keep your dose small throughout. Reload the cloth with another pea-sized amount rather than scooping a large blob and spreading it thinner by force. Small reloads give you consistent coats and clear decision points between sections.
Common Problems and How to Fix Them
Over-application causes most of the trouble you'll see with a leather cream restorer. The National Park Service Conserve O Gram on leather dressings explains that dressings penetrate the collagen network, and their mobile components can migrate irreversibly through the leather. Once oils have moved and darkened a patch, you usually can't pull them back out. A small dose and a thin coat are your main protection.
Darkening is the symptom people notice first. Sometimes it's temporary while the coat dries. If it's still there after a full drying period, treat it as permanent and don't add more product hoping to even it out. Evening out by treating everything else just makes the whole item darker, and on furniture that mistake is costly. For surface marks on wooden furniture around a leather piece, our guide to fixing furniture scratches covers a separate repair approach, so don't use leather cream as a substitute there.
| Symptom | Likely cause | Fix |
|---|---|---|
| Darkened patches | Too much product or uneven absorption | Stop, blot excess, let dry 24 hours, buff lightly |
| Sticky or tacky surface | Excess cream not buffed off | Wipe with a dry lint-free cloth and add no more product |
| White haze or whitening | Residue or accidental wetting | Buff gently; if it persists, refer to a specialist |
| Dye on the white cloth | Finish disturbed or fugitive dye | Stop use and refer |
| Dust sticking to surface | Oily residue attracts dust | Dry brush and wipe lightly; use less next time |
| Stiff or hardened area | Over-drying or heat exposure | Move the item away from heat; condition sparingly after drying |
| Deep cracks | Structural damage | Conditioning cannot repair them; consult a specialist |
Fixes that take a day versus reasons to stop
A light excess that feels slightly waxy can often be managed. Blot, let it dry for 24 hours, then buff lightly with a dry cloth. Don't wash it off. Wetting leather can harden it, darken it, stain it, disrupt the finish or spread a localized stain wider.
Stop and refer the item if whitening persists after gentle buffing, if dye keeps coming off on the white cloth, or if tackiness doesn't clear. Those aren't dosage problems you can polish away. They point to a finish or dye problem that more handling will worsen.
Don't reach for alkaline soap to strip a bad coat, either. It's unsuitable for naturally acidic leather and can damage the tannage while you're trying to fix the surface. You're then dealing with two problems instead of one.
Deep cracks can't be fixed by conditioning alone. Cream may make cracked leather look less pale for a while, but it doesn't rejoin broken fibers or restore strength. Repeated treatment on an already darkened or cracked patch makes the appearance worse and can soften a finish you wanted to keep. That's specialist work, and saying so early protects the item.
How Often to Reapply and What to Pair It With
You don't need a calendar reminder to apply more cream. You need an inspection habit, with a starting interval based on wear. NBC's leather care guidance recommends applying a small amount with a soft cloth only after the item is fully dry and describes 24 hours as an ideal drying period. Recommended conditioning intervals in that guidance context range from roughly three to six months in higher-wear guidance to six to twelve months in lighter-use guidance.
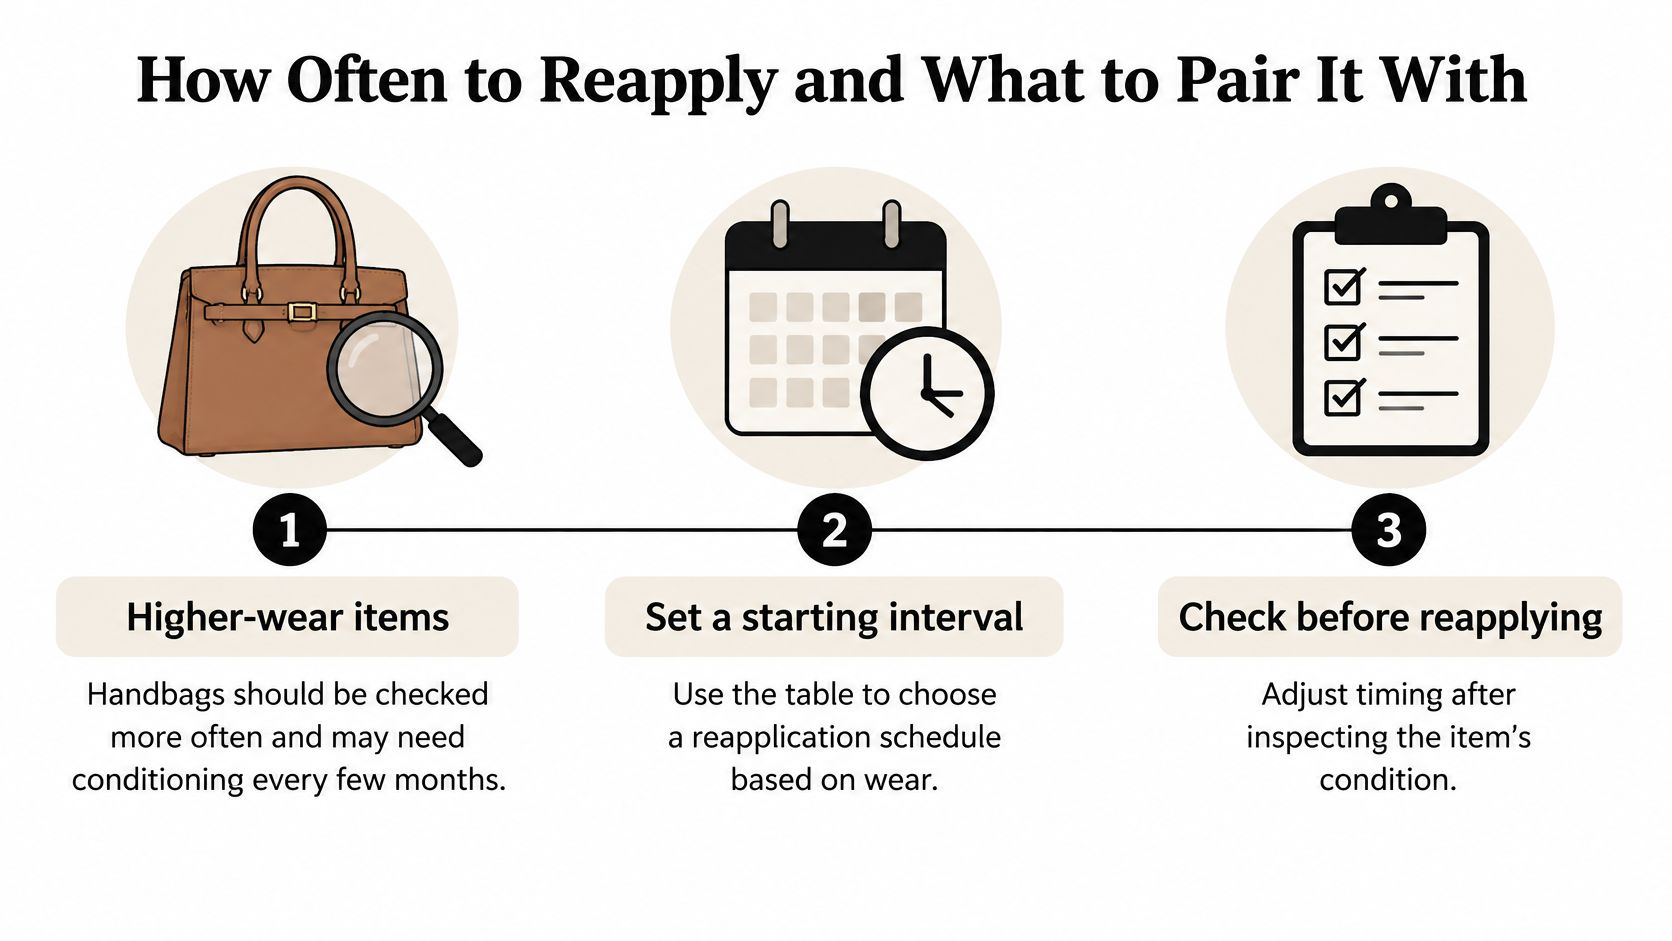
| Use and environment | Suggested interval | Practical note |
|---|---|---|
| Higher-wear items: handbags, footwear, car seats | Every 3-6 months | Check monthly for dryness and cracking |
| Lighter-use items: indoor furniture, decorative pieces | Every 6-12 months | Dust regularly instead of conditioning |
| Hot, humid or very dry climate | Shorten the interval | Heat and dryness speed hardening; re-test each time |
| Frequent skin or perspiration contact | Repeat patch test before each application | Perspiration can change rub fastness and handle |
Climate and contact change those intervals more than the product label does. Heat and dry air harden leather faster. Humidity, perspiration and frequent skin contact change how the surface handles friction and moisture, so repeat the patch test before each application on items like steering wheels, bag handles and jacket collars. If you drive daily, our guide to conditioning leather car seats gives the seat-specific checks to run alongside this schedule.
Pairing rules are simple and strict. Never layer two dressings to boost the effect. Never apply an alkaline soap directly before a cream. Keep cleaning and conditioning as separate steps with full drying between them, so you can tell which step caused any change.
For sofas and chairs, Tyner Furniture's leather protection guide is a useful companion on day-to-day protection, which reduces how often you need a restorer at all. Dusting and keeping furniture out of harsh sun do more over a year than extra coats of cream.
Log every application. Write the date, product, quantity, area treated and what you observed after drying. That record replaces guesswork at the next check and shows you whether an interval is too short.
Deciding Whether to Continue, Stop or Refer
After the first panel dries cleanly, the decision isn't finished. You still have to decide whether the next application, months later, should happen at all.
Continue only if the treated area still passes the same checks at the next inspection. No dye transfer, no permanent darkening, no tackiness, no whitening, no odor and no finish disturbance. Same product, same thin dose, same patch test if anything about the item's use or environment has changed.
Stop at once if a new change appears. Dye on the white cloth, tackiness that doesn't clear with gentle buffing, or darkening that spreads beyond the treated area all mean the product and the finish are no longer getting along. Don't switch to a stronger product. Don't add heat to help it absorb.
Refer the item for persistent whitening, deep cracks, flaking or delamination. Historic, museum-grade, semi-tanned, rawhide, suede and severely friable pieces belong with a conservator or specialist from the start, not after a home test fails. Conditioning can't repair structural damage, and a specialist can tell you whether refinishing is even appropriate.
Keep the log with the item. Product, date, area and observed change is the best evidence you can hand a specialist, and it stops you repeating a product that already failed.
For car interiors, there's one related point worth keeping separate. Our New Car Smell Spray is a long-lasting vehicle air freshener made to eliminate unwanted odors. It's for the cabin air and suitable fabric areas, not a leather treatment, so don't use scent products as evidence that leather is clean or conditioned.
Your single next step is this. Identify the leather type using the edge, finish and condition checks, then run the patch test on a hidden spot before you open the full container for the visible panels. If you can't do both, you're not ready to apply anything.
Visit Evo Dyne Products to browse our home, automotive and everyday care range, including long-lasting vehicle air fresheners for keeping a cleaned interior smelling fresh. Pair that with the test-first routine above, and you'll maintain leather by inspection and evidence, not by habit or heavy coats.